
Hello,
unfortunately I can’t find in the documentation of WisGate OS 2 any information on how to setup the internal MQTT-Broker on an RAK7289CV2.
I’d like to activate it and setup a username and password so that external Mqtt clients in the LAN can connect with it.
Can you please help me with this?
The internal mqtt broker should be enabled by default.
You can find the config page https://192.168.230.1/configuration/network (via WiFi AP)
under tab “Gateway Backend”.
There you can enable authentication via username & pw.
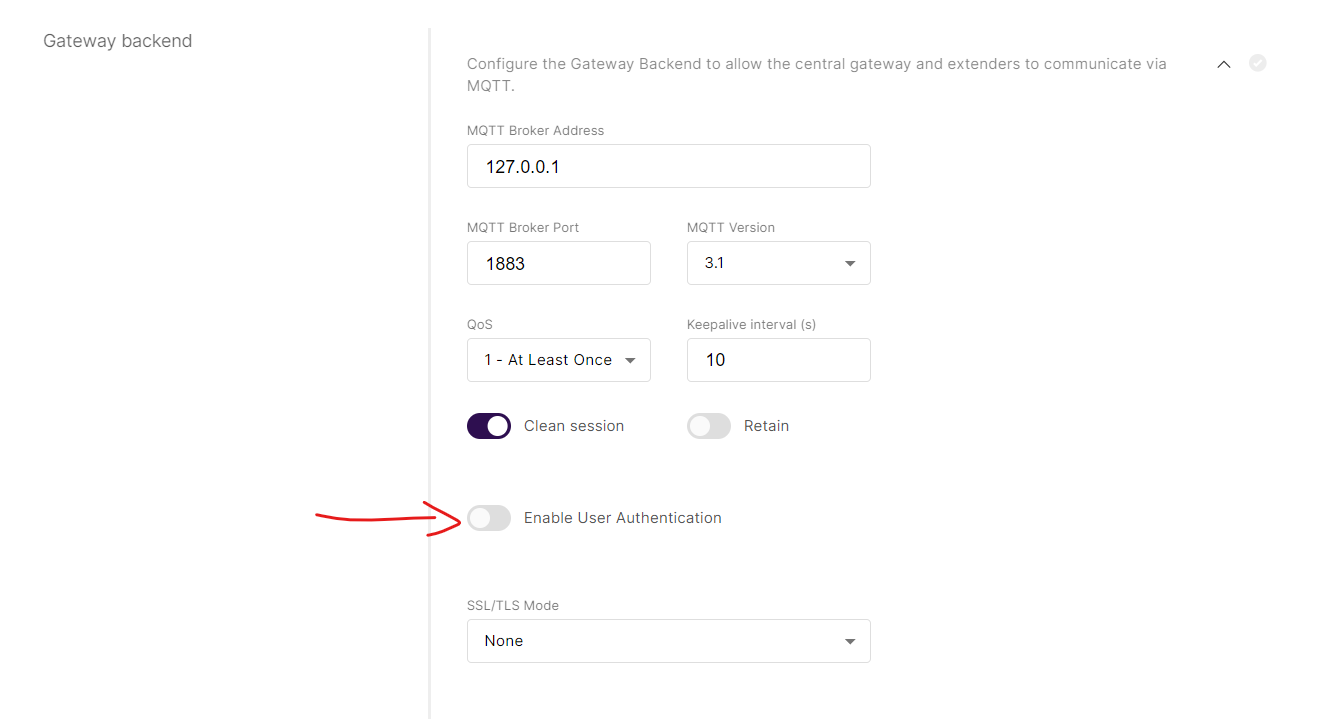
Before setting up the authentication I would test if you can connect to the broker without pw login.
The broker IP is the interface IP (if you connect via WiFi AP its 192.168.230.1)
You may need to set up an application before seeing anything happening in the broker.
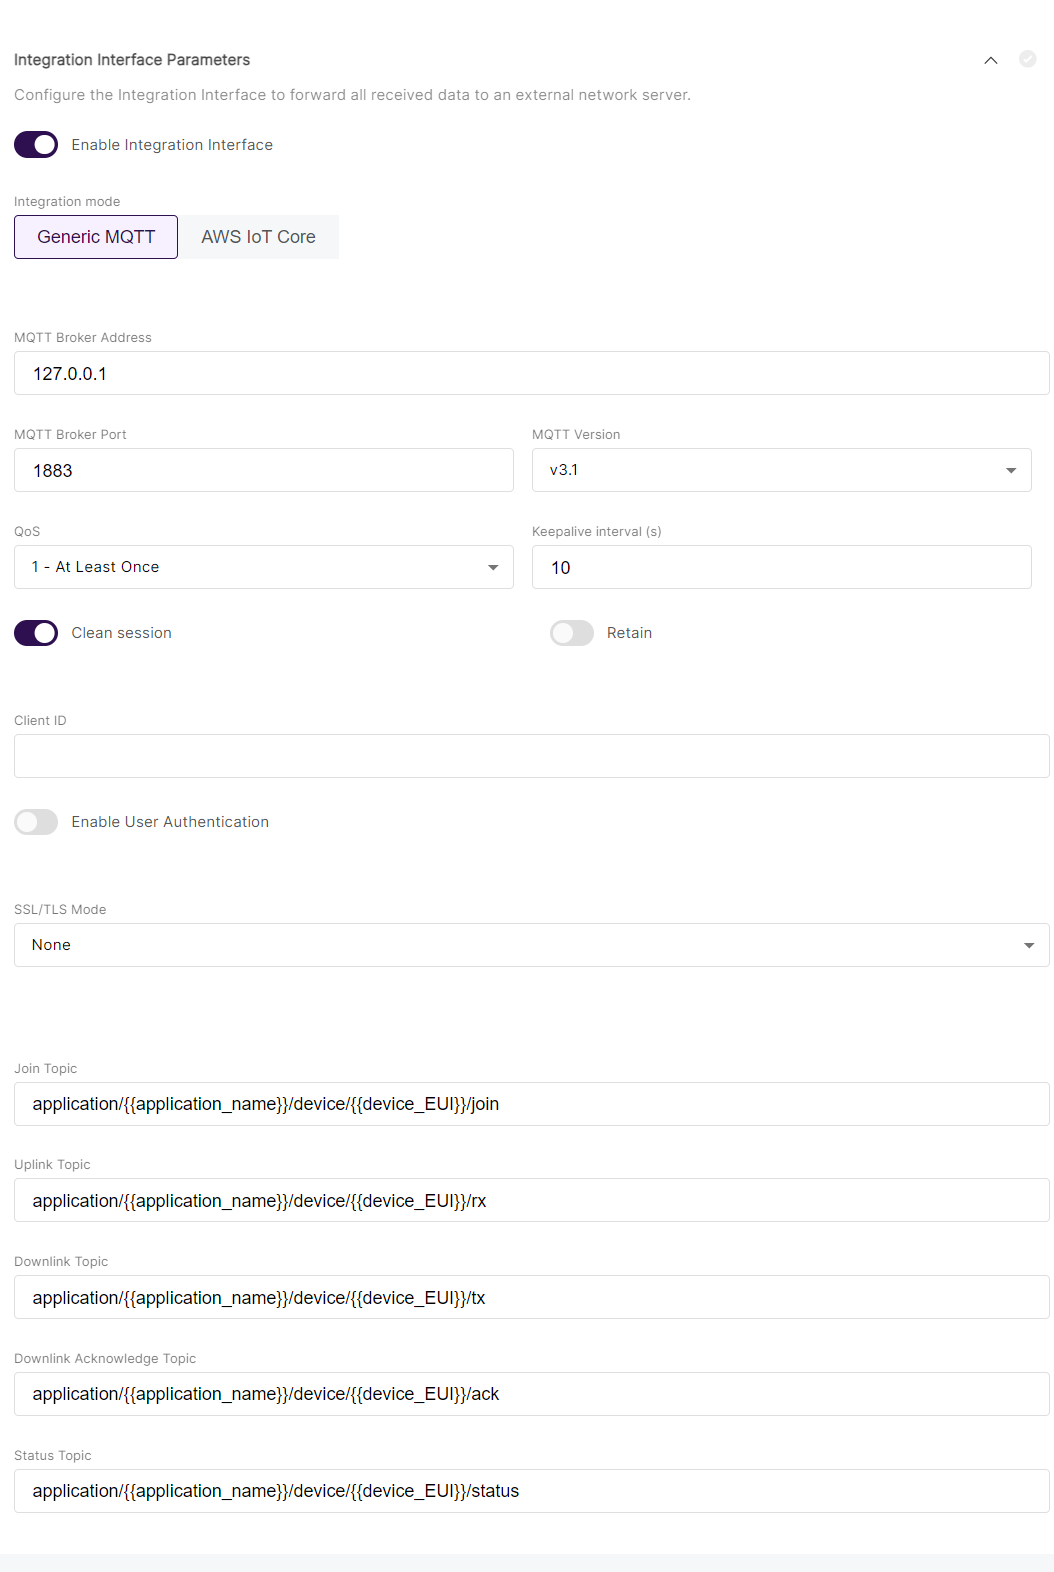
Sorry, I mixed it up, the tab Gateway Backend is not correct.
You need to enable user authentication under the Tab: “Integration Interface Parameters”
Hi Chris,
thank you very much for your replies.
In the fields which you higlighted I must enter the username and password of the MQTT-Broker in order to login to it in operation. But I’m actually looking for the information where to set up the MQTT-Broker. I remember that in one of the earlier Versions of Gate OS 2 there was during the first initial login also a mask to set the username and password but this appears no more.
I see, you are right! Sorry again, I assumed that it was the right interface without testing.
Now I’m using the latest WisGate OS 2 so I don’t know about the setup menu on initial login that you mentioned.
However, I figured out an alternate approach to setup the authentication. Since WisGate OS is based on the OpenWRT Linux System we can login via SSH and configure the Mosquitto MQTT Broker manually.
-
SSH Connection to the Gateway: To connect to your RAK Gateway via SSH, use the following command from your terminal
ssh [email protected] -
Create a Password File:
-
First, you need to create a password file using
mosquitto_passwd. Use the following command to create a new password file and add a user. Replaceyour_usernamewith your desired username:mosquitto_passwd -c /etc/mosquitto/passwd your_username -
You will be prompted to enter and confirm a password for the user.
-
-
Configure Mosquitto via UCI:
-
OpenWrt’s UCI system is used to configure Mosquitto. You need to set the relevant UCI options to enable authentication.
-
Set the path to the password file:
uci set mosquitto.@mosquitto[0].password_file="/etc/mosquitto/passwd" -
Disable anonymous access:
uci set mosquitto.@mosquitto[0].allow_anonymous="0" -
Commit your changes:
uci commit mosquitto
-
-
Restart Mosquitto:
-
After making these changes, restart the Mosquitto service to apply them:
/etc/init.d/mosquitto restart
-
Hello Chris,
thank you very much for this comprehensive reply.
I just had some time to test this. Unfortunately I can’t even login via SSH into the Gateway. I’m using Putty for SSH, I tried the IP-Adress (coorect one) with the port 22. Must SSH be enabled seperately somewhere?
It should be enabled by default. Make sure to use the correct username “root” and your password for SSH login.
Did you double-check the connection and the correct IP address e.g. using ping or by connecting to the web interface using that address?