
This short guide is for those who participated in the workshop by RAKwireless in 2020 The Things Network (TTN) Conference in Amsterdam (January 30 - 31)
Workshop Topic: Building your LoRaWAN™ Network the right way.
Requirements
- RAK7246G RPi LoRaWAN™ Gateway
- TheThingsNetwork Account
- Ubidots Account
Register your RAK7246G LoRaWAN™ Gateway with TTN
Please take a look at the following documentation before going through the steps in this workshop:
- Get Started with RAK7246G RPi LoRaWAN™ Gateway.
- Connecting to The Things Network (TTN)
- Connecting to LoRaServer/Chirpstack
Register your Wisblock LoRa Node with TTN
Now, there is a Wisblock LoRa Node in your hand, which is RAK4600 + RAK1901 + Wisbase board actually. We have configured a set of default DEV_EUI, APP_EUI, and APP_KEY in your device. You can find these parameters in the envelope of the device:
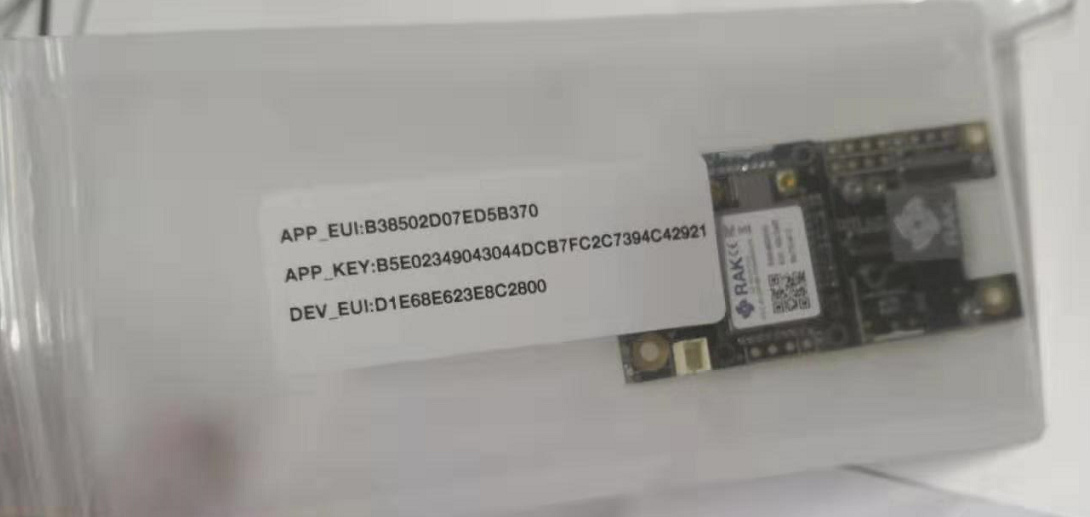
What you will do is just register your Wisblock device with TTN using the default parameters and follow these steps.
Step 1: Add application in your TTN account.
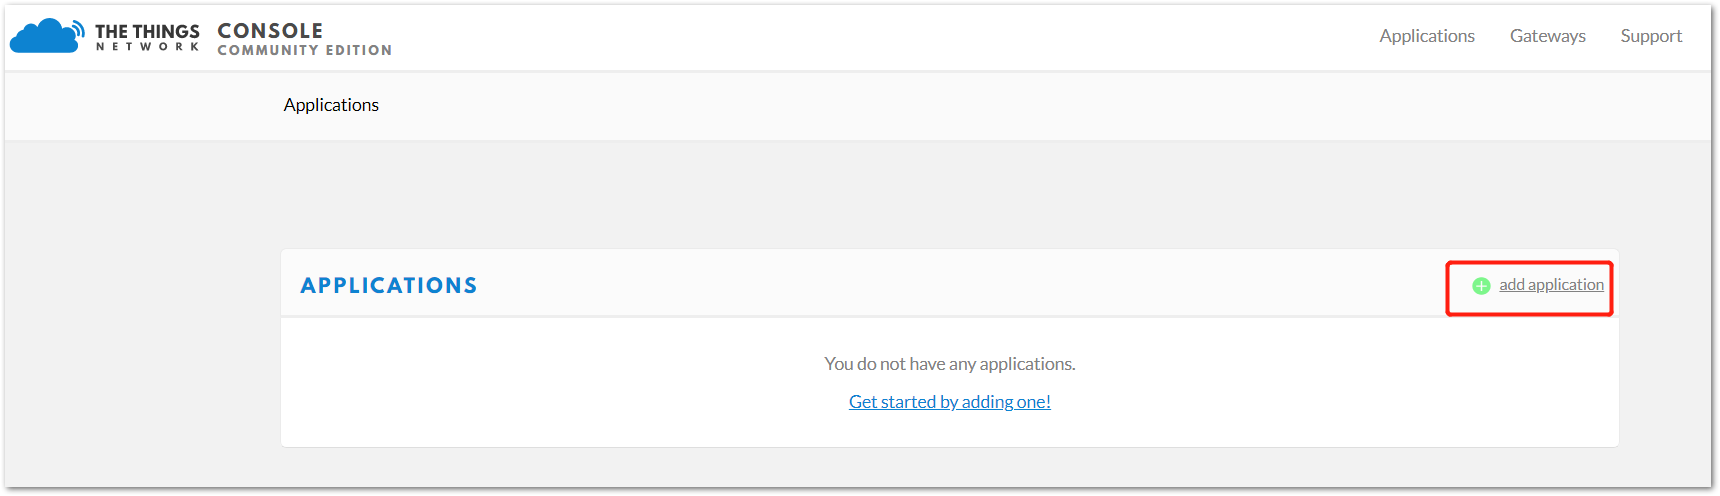
Then, create application.’
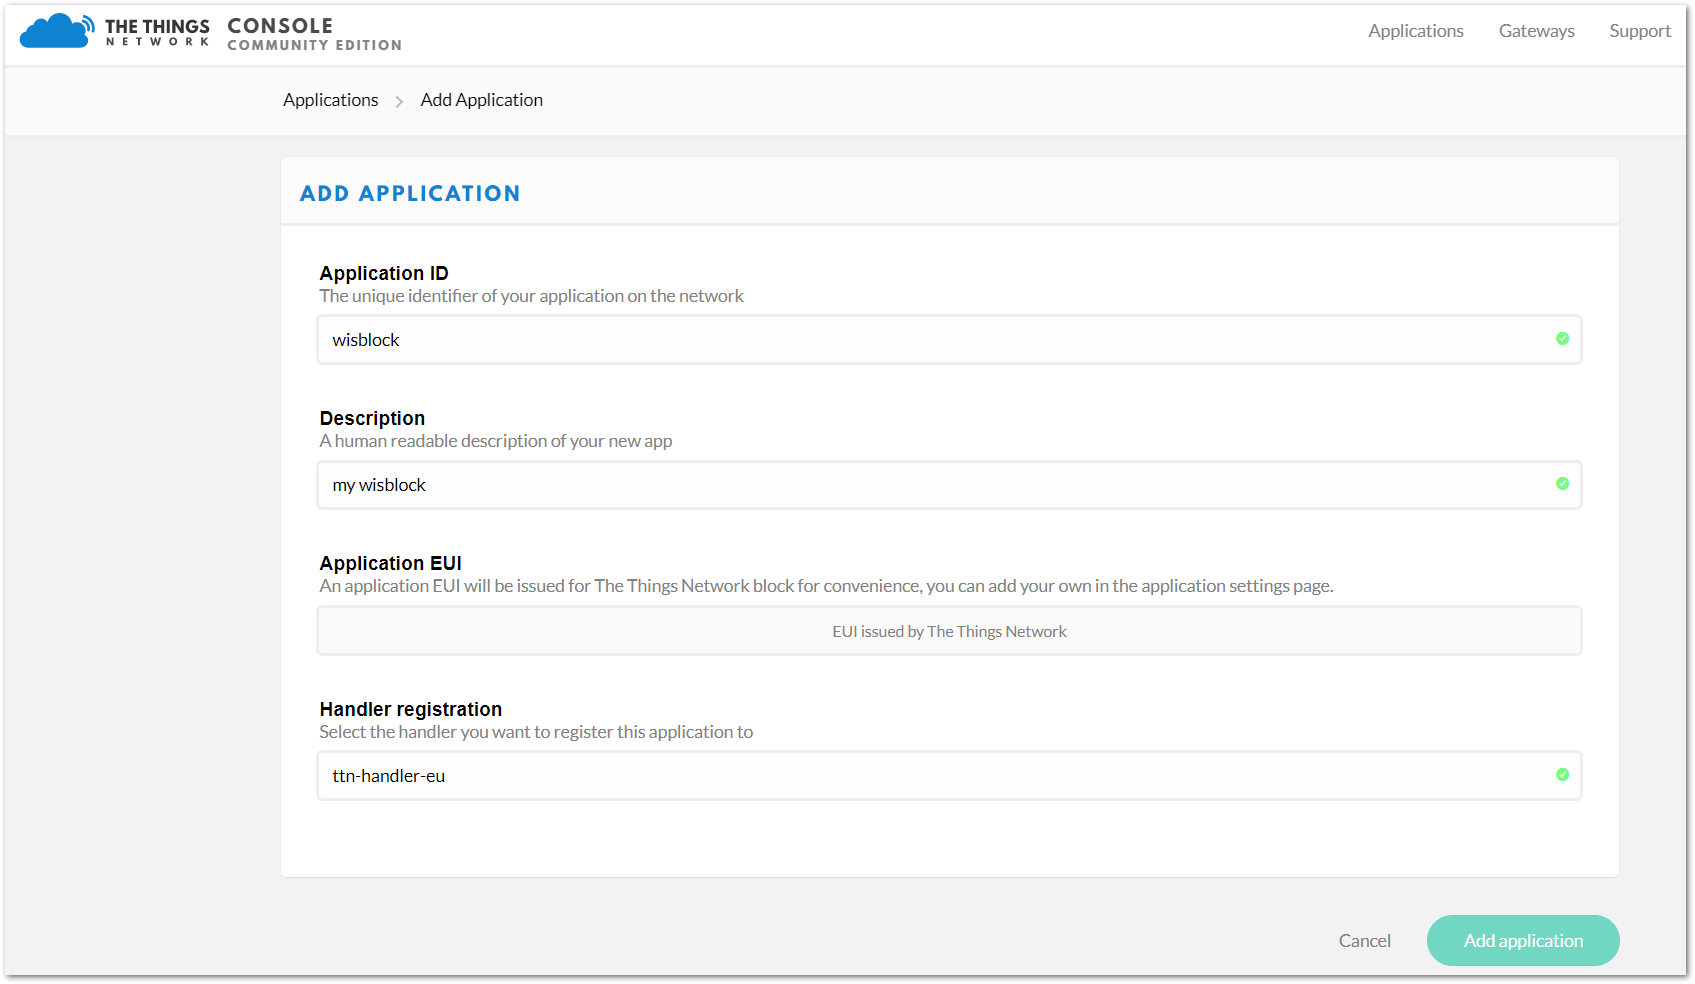
Then modify the APP_EUI according to the following steps:

Now, fill in the APP_EUI of the one on the envelope of your Wisblock device. For example:
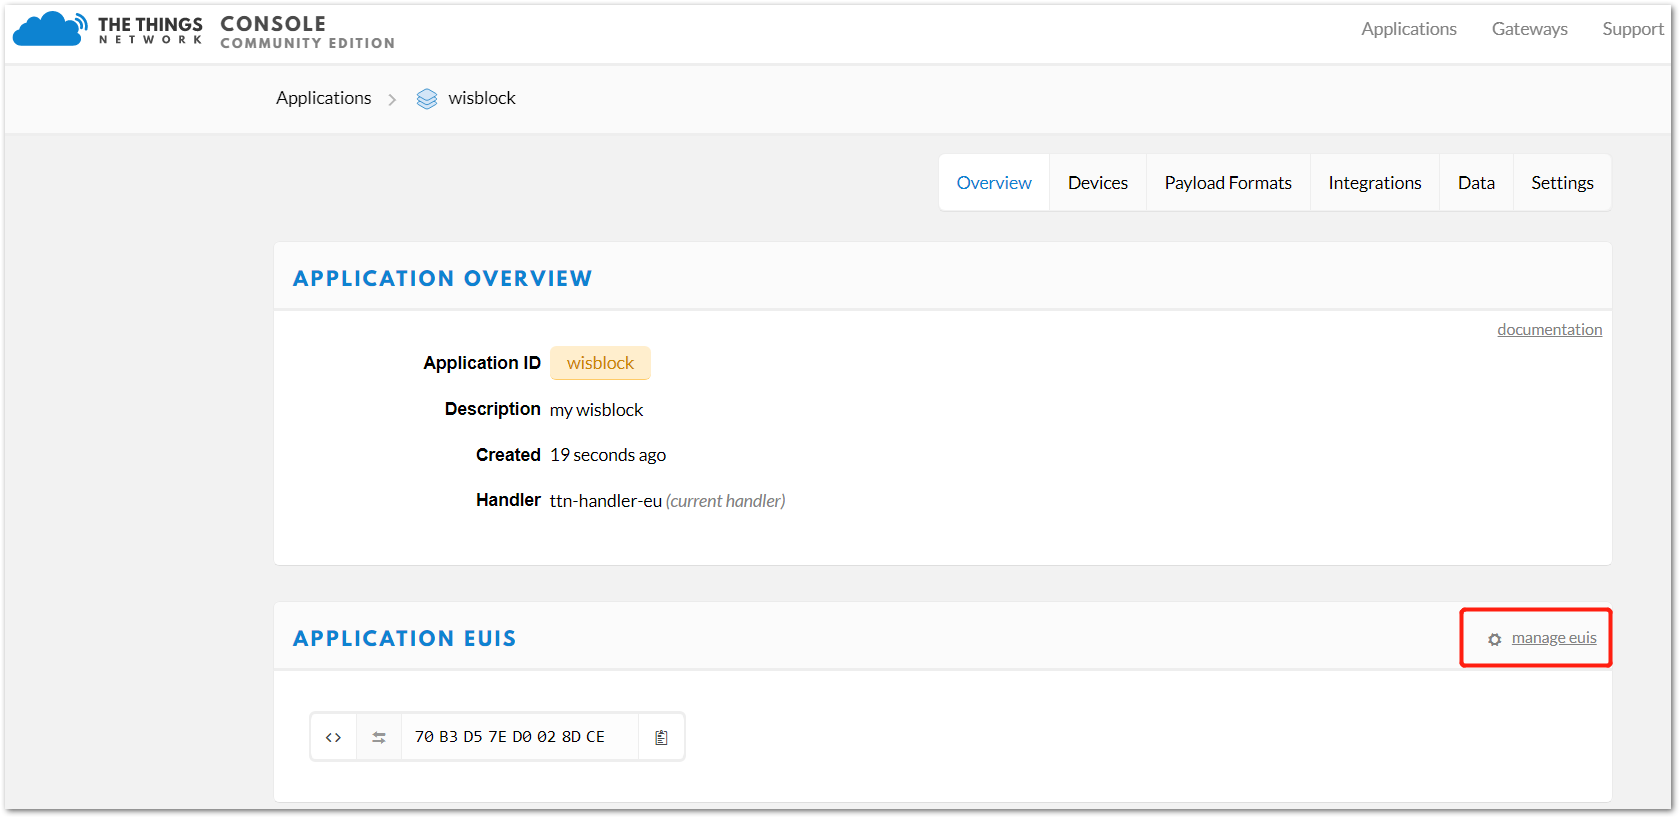
OK, you have modified the APP_EUI successfully:
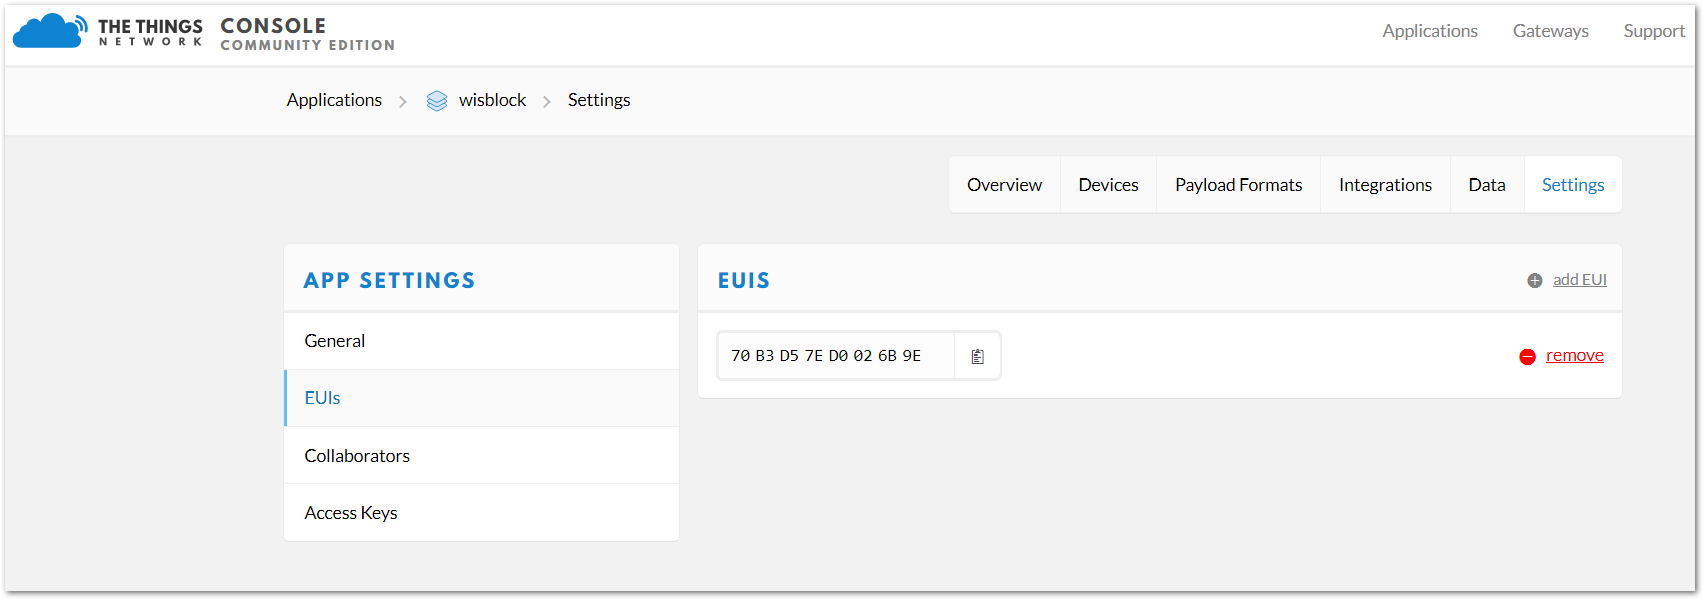
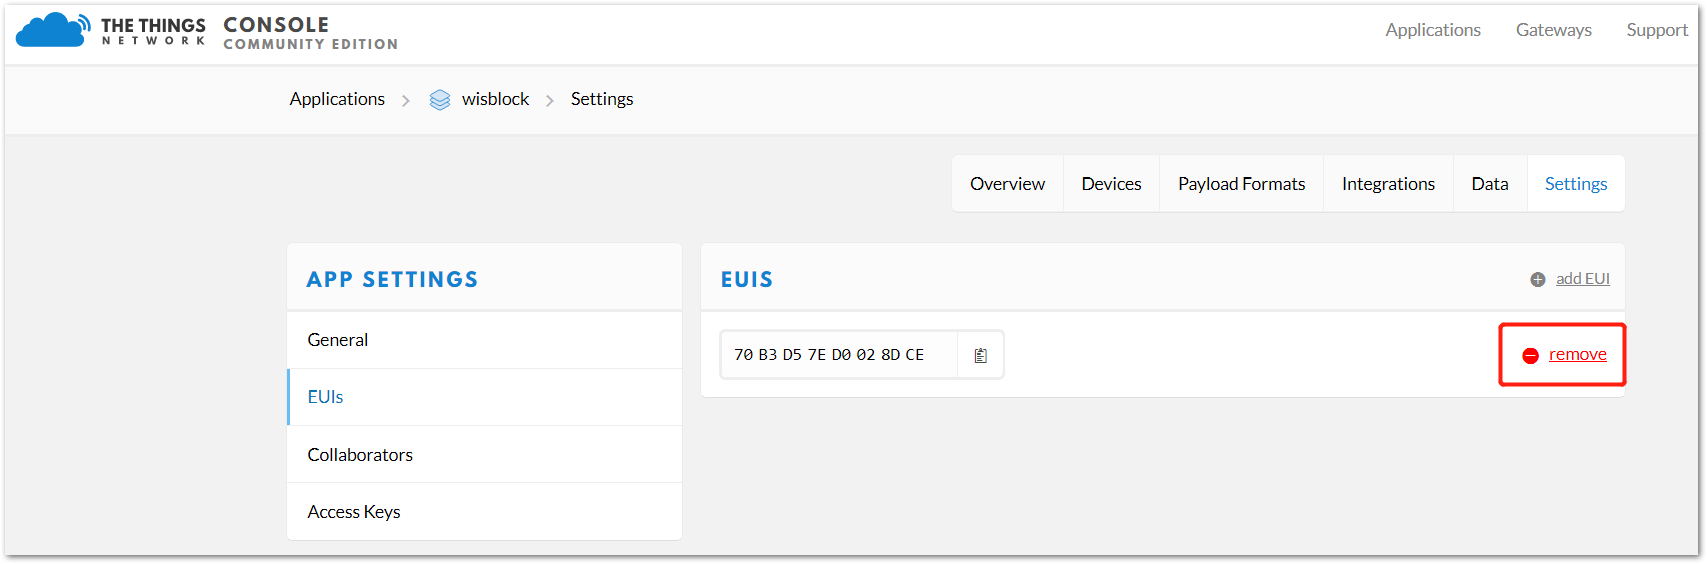
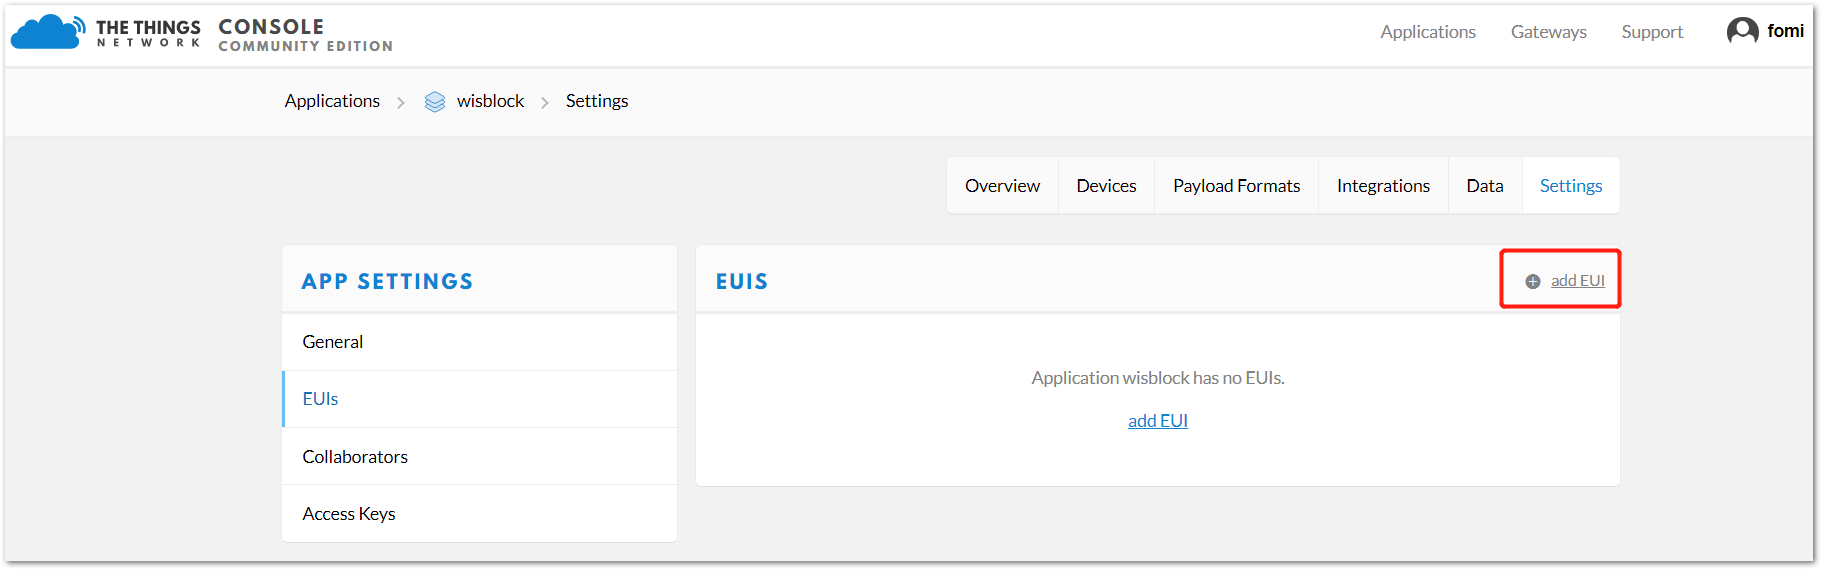
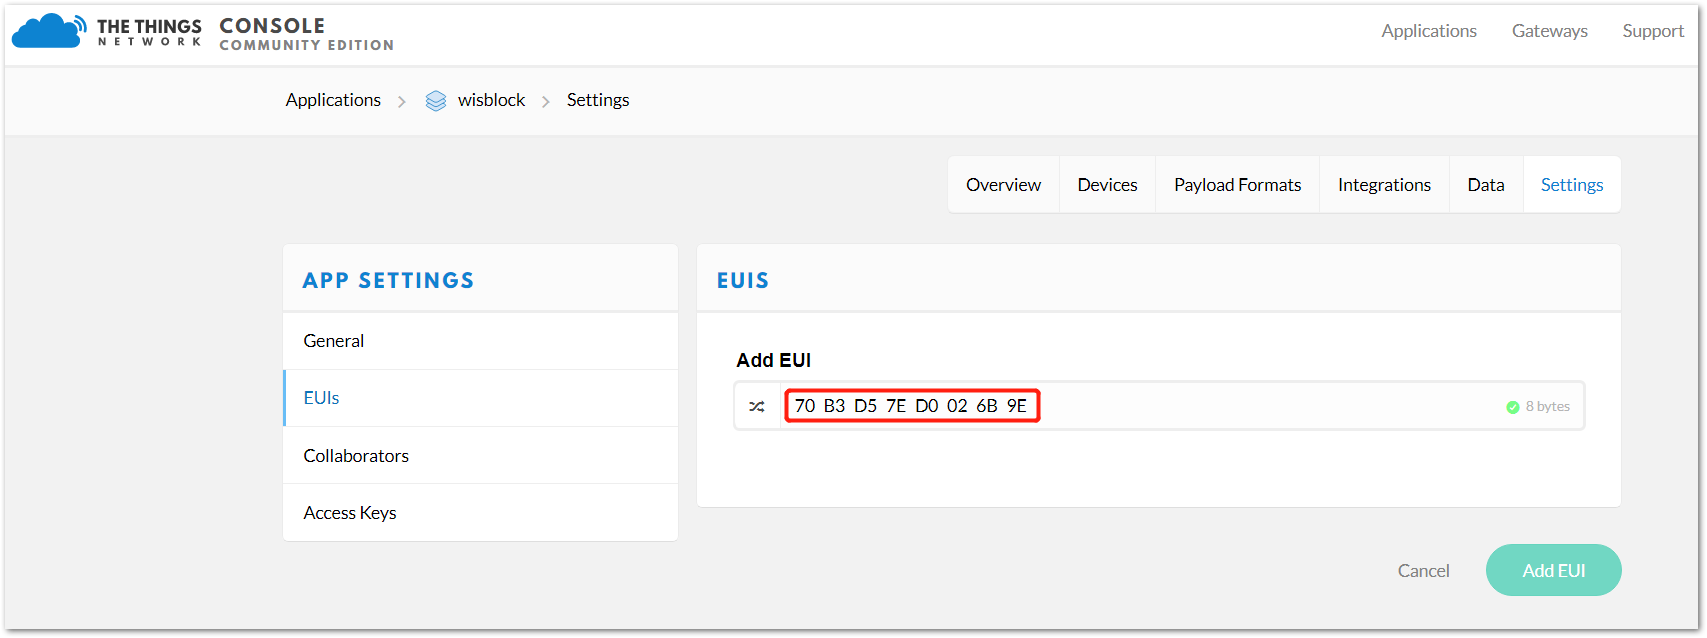
Step 2: Register your Wisblock device
Now, open the “Devices” page:

Click “register device”:

Then, fill in DEV_EUI and APP_KEY using the one shared on the envelope of your Wisblock device. For example:

Then, click “Register”
OK, you can see that your Wisblock device has been registered with TTN successfully.

When you power on your Wisblock, and if your RAK7246 LoRa gateway has been online, you will find that the “Status” of the above page will be like this:
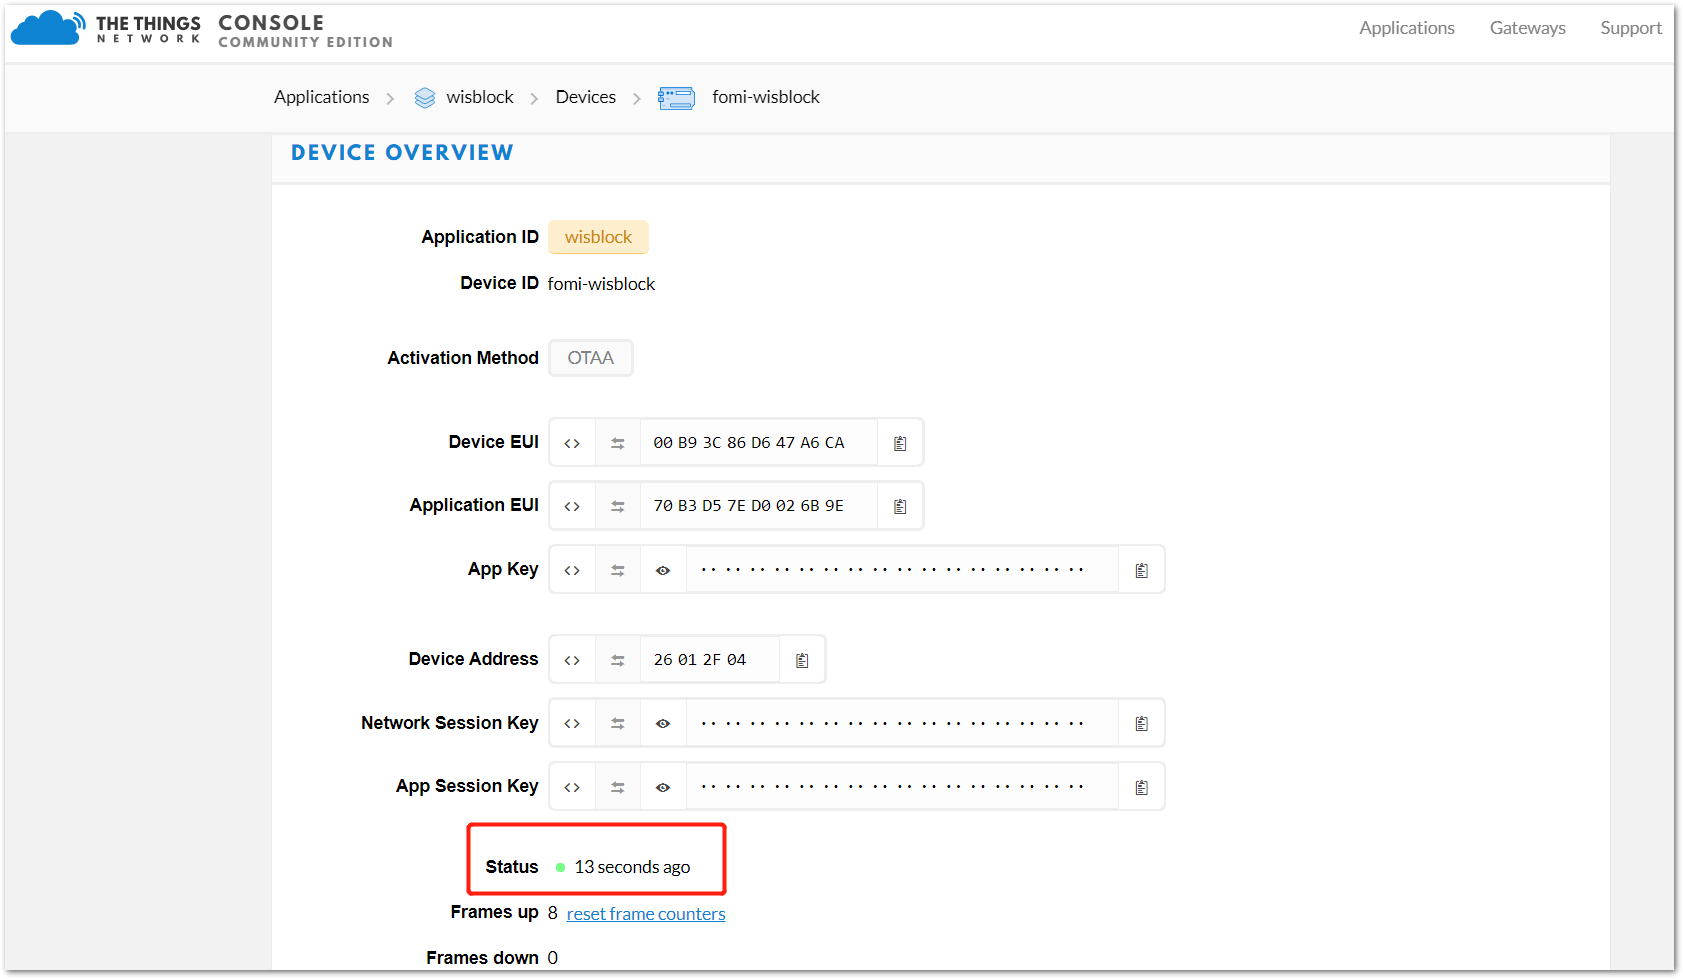
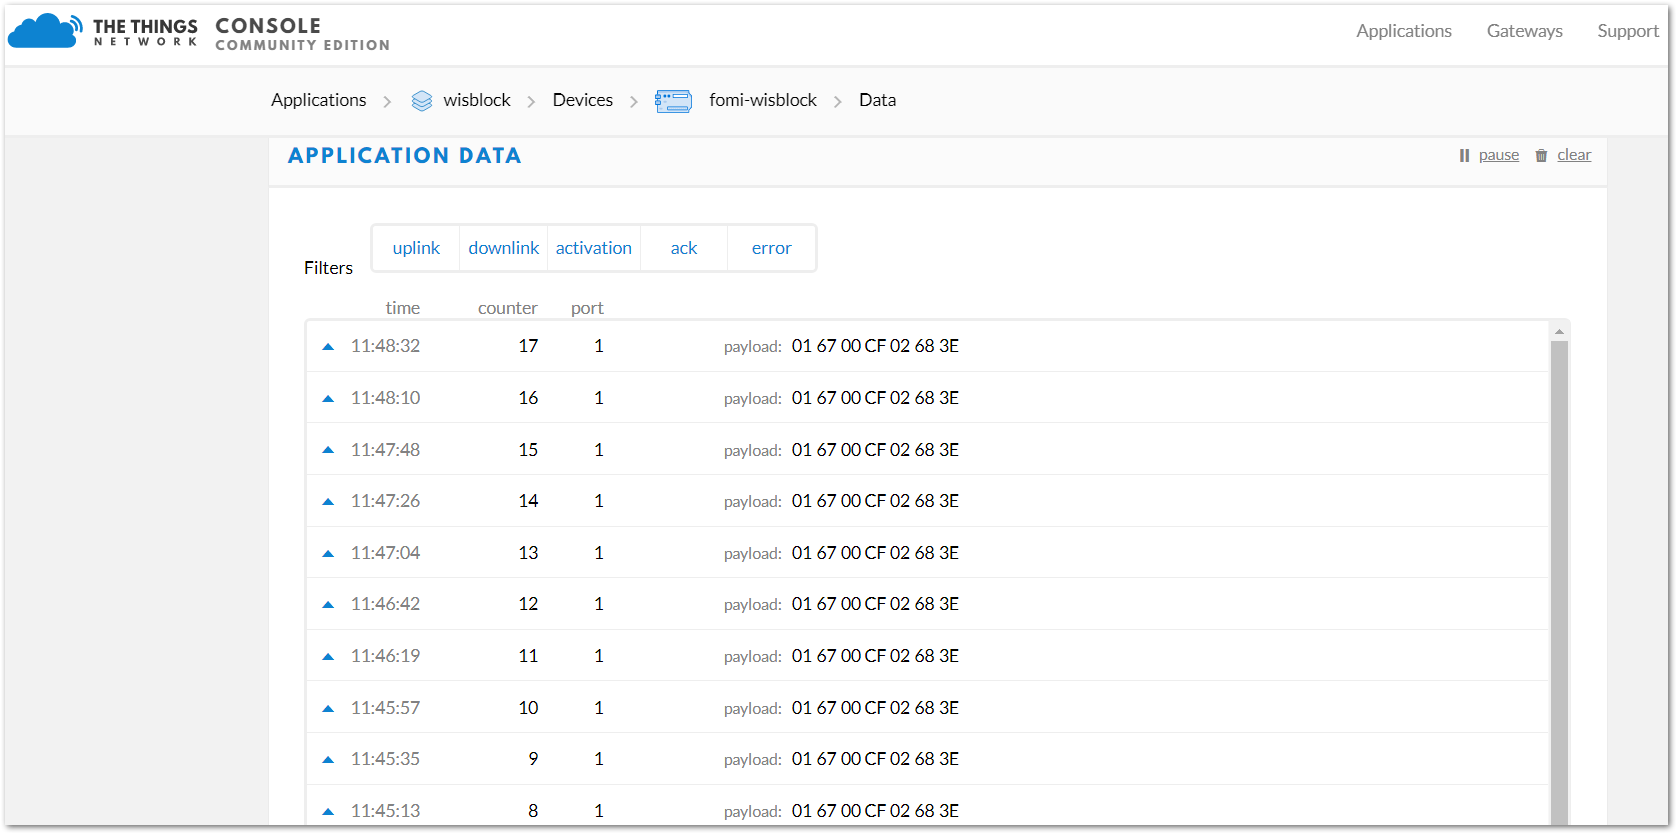
And you can see that there are some packets sent from Wisblock and received by TTN:
Add Ubidots into TTN integration.
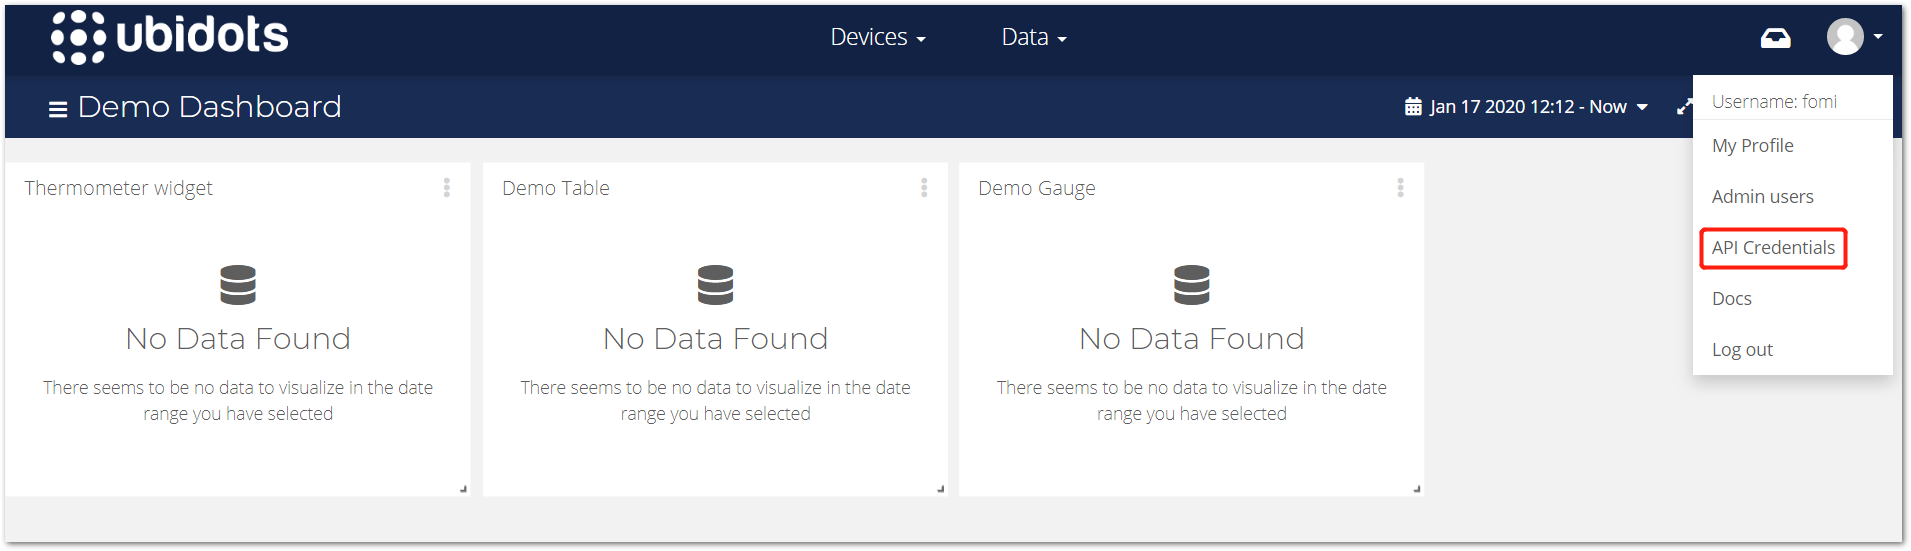
Open Ubidots and sign-in.
Click the “API Credentials” item as the following picture red box shows:
Then you will see this page:
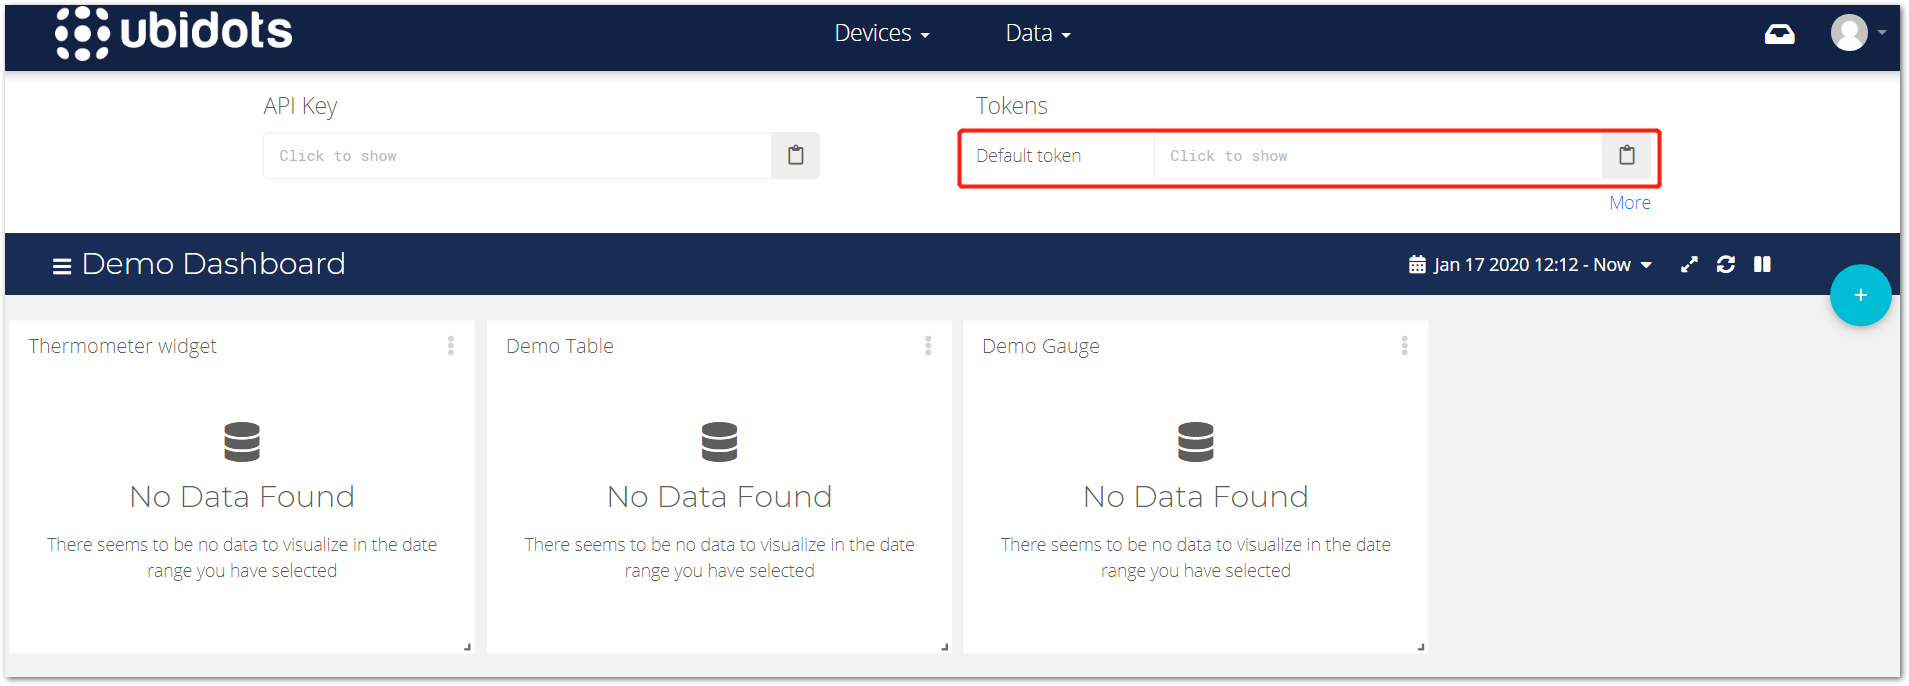
Just copy the “Default token” as the above red box show.
Then go to the TTN webpage, the Integrations sub-page of the Application you just create in the above steps:

Then click “add integration”

In the new page, just find Ubidots item:
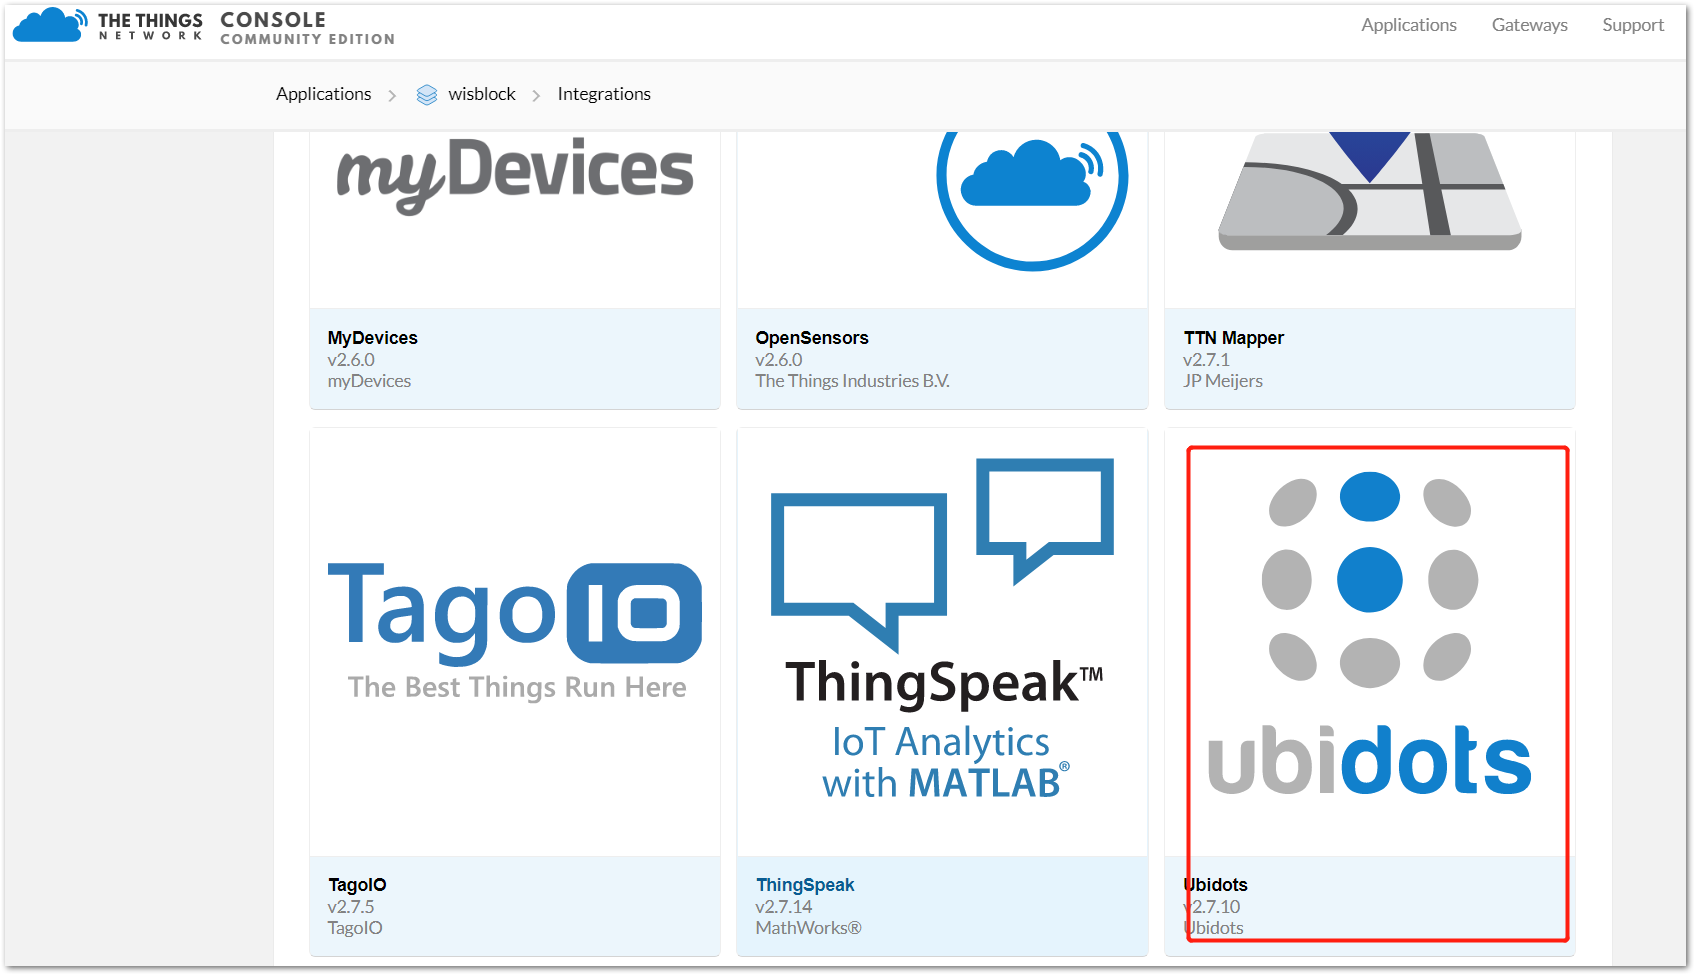
Click it:
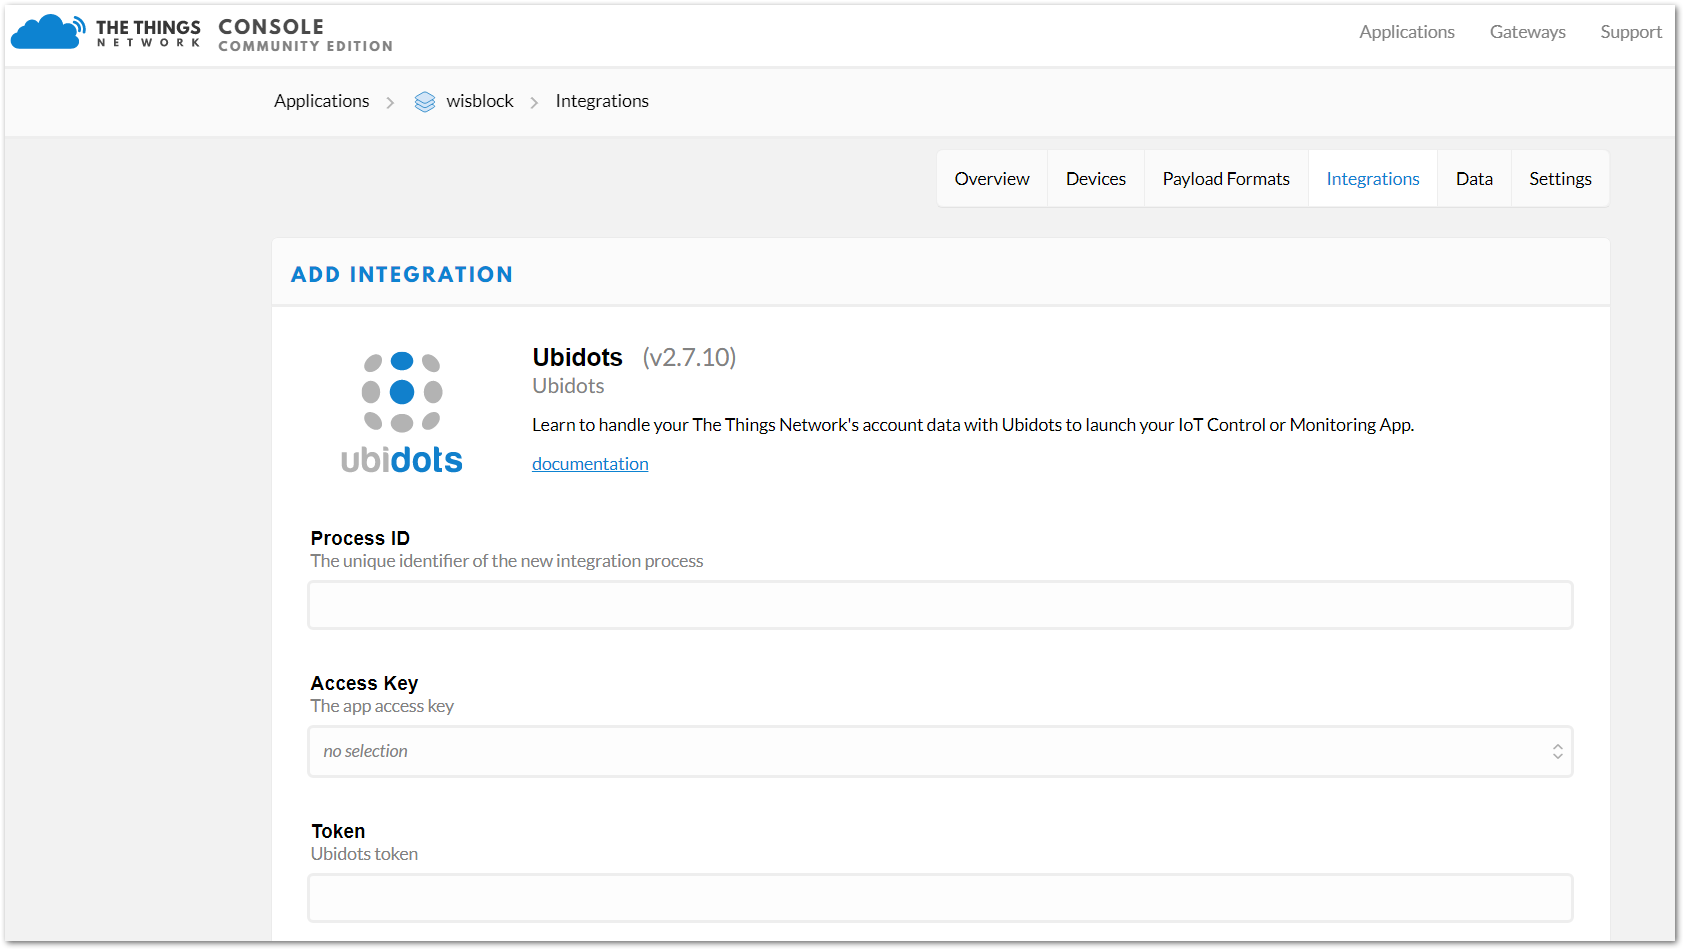
Just fill them. Please note that the 3rd item “Token” should be filled with the token you just got on Ubidots page.
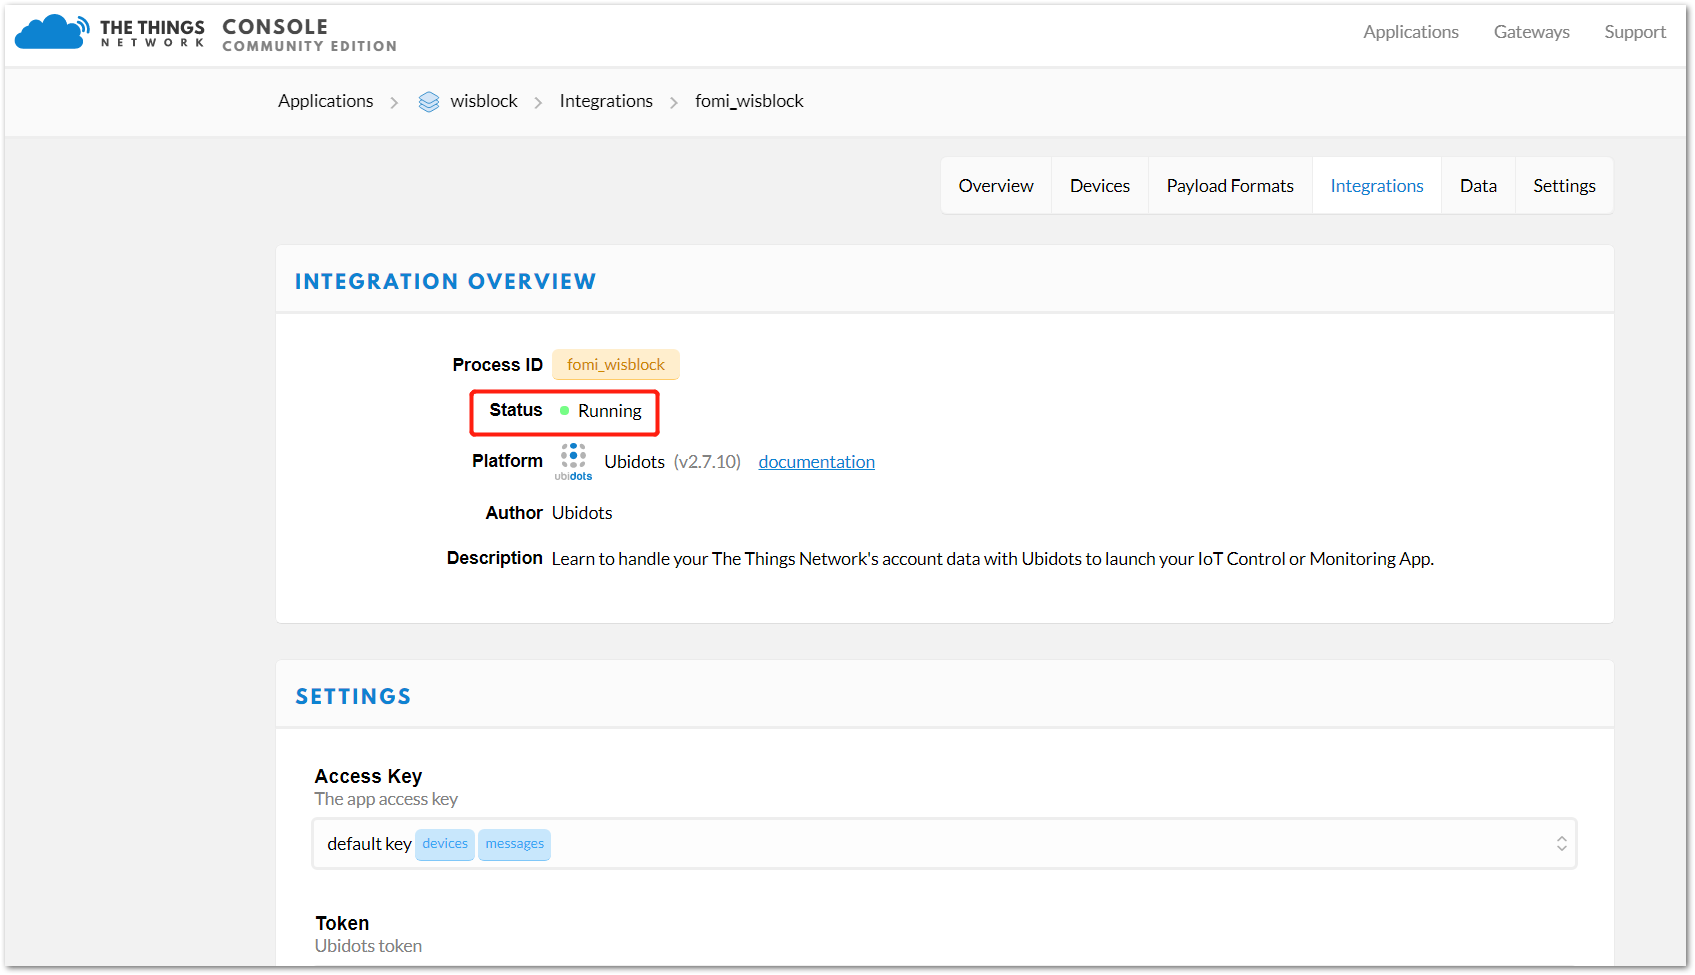
OK! If you can see the following status, it means that you have added Ubidots into TTN integration successfully!
Analyze the payload on TTN and show them on Ubidots
OK, we’ve set up the whole network using Wisblock LoRa node, RAK7246 LoRa gateway, TTN, and Ubidots. Now, let’s adding some code on TTN to decode the payload sent from Wisblock LoRa node so that Ubidots can receive the pure sensor data directly and show them in its dashboard.
Firstly, open the “Payload Formats” page of the Application on TTN website.
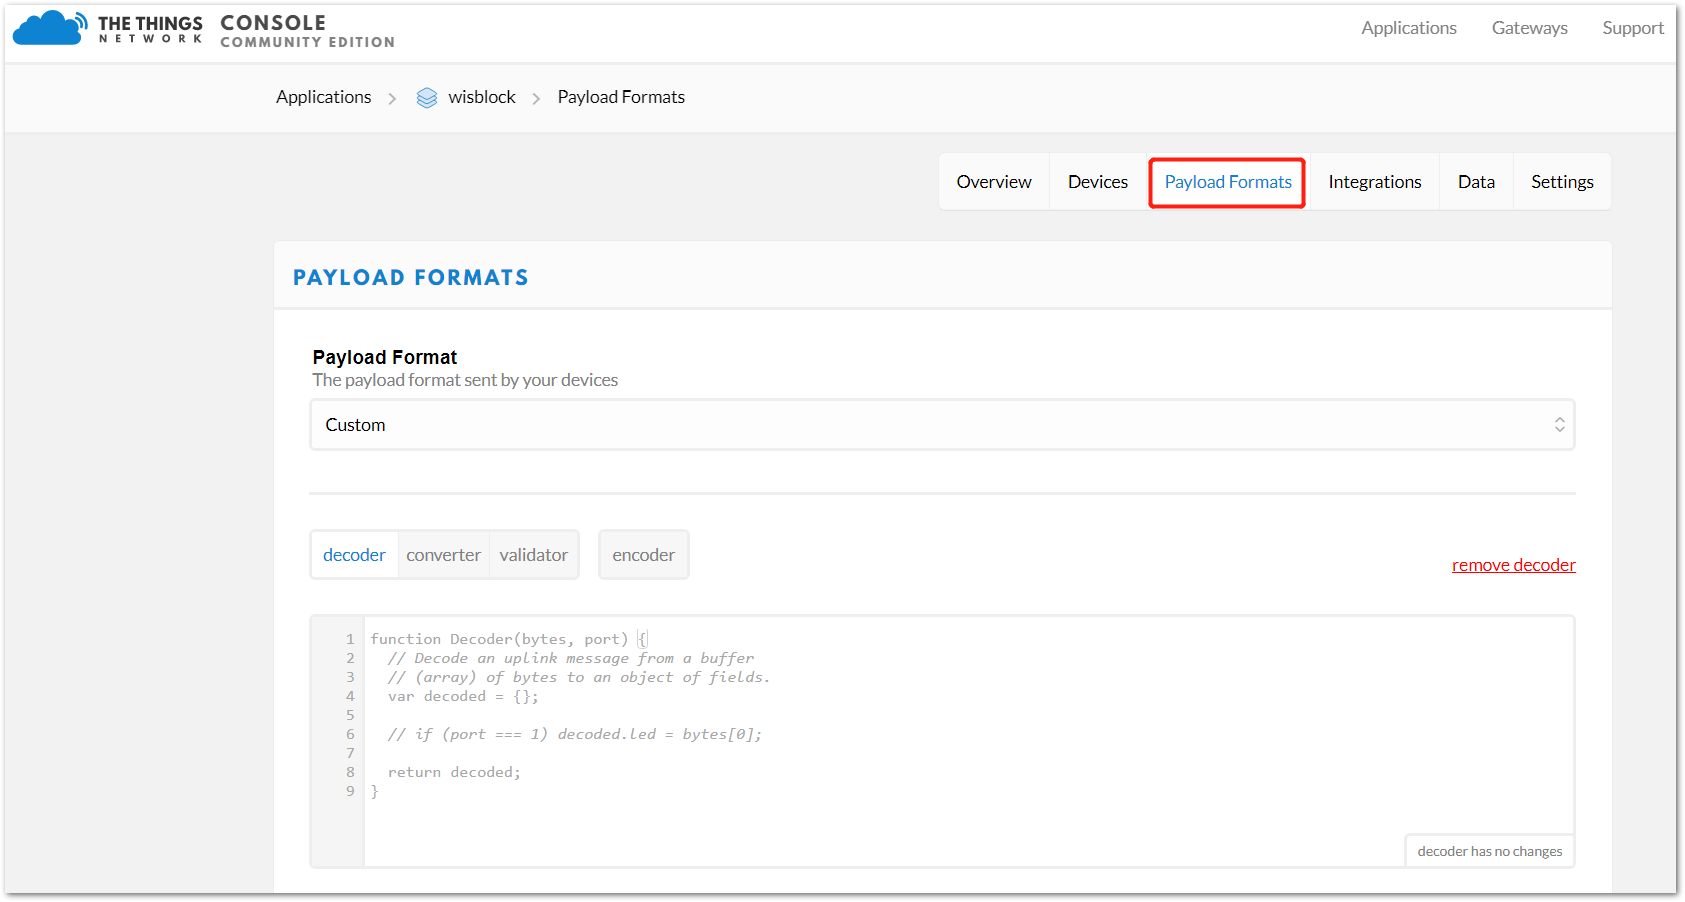
Choose “Custom” item for “Payload Format”, and copy the source code of the file “ttn_decoder_for_ubidots_TTN_conference.js” into the “decoder” item, then save.
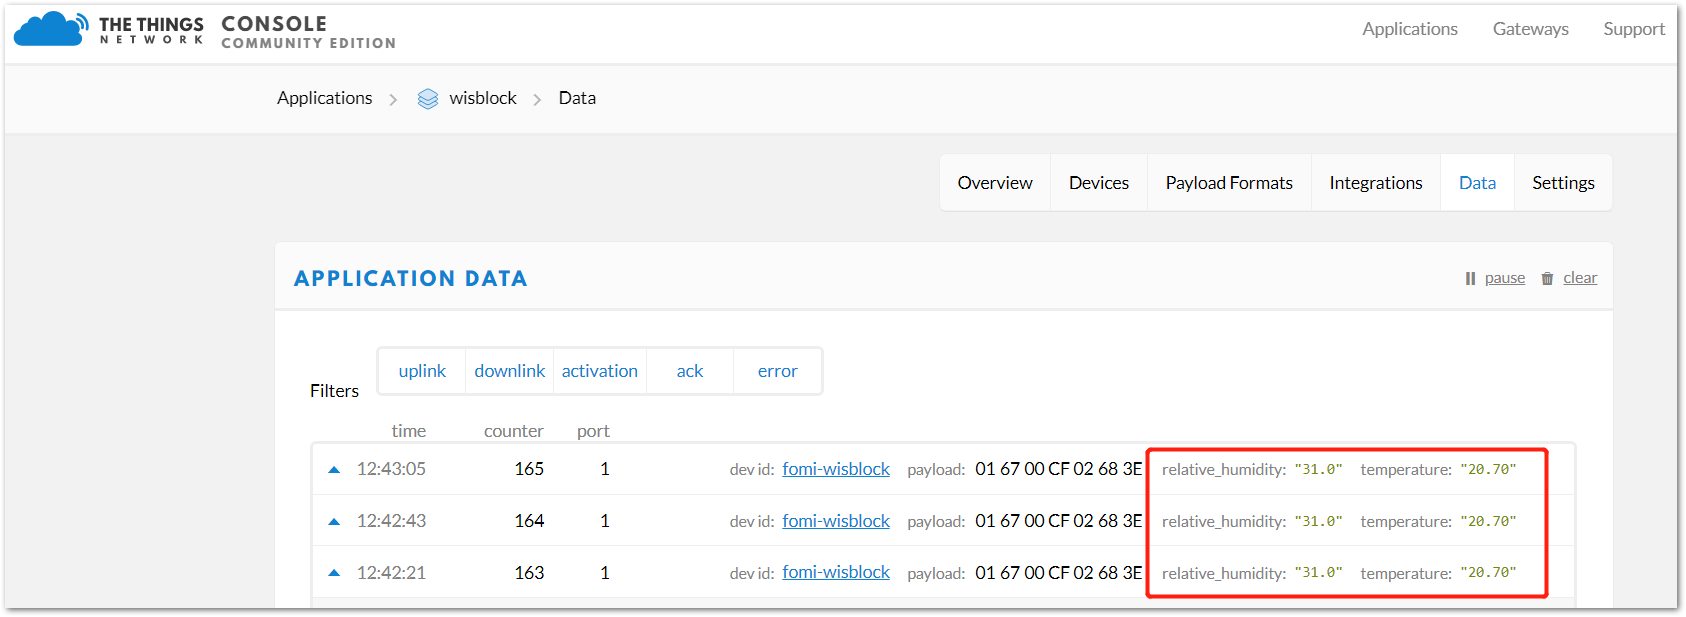
Now, you could see sensor’s value directly in the receiving data page.
OK, let’s show these sensor’s value in Ubidots dashboard now.
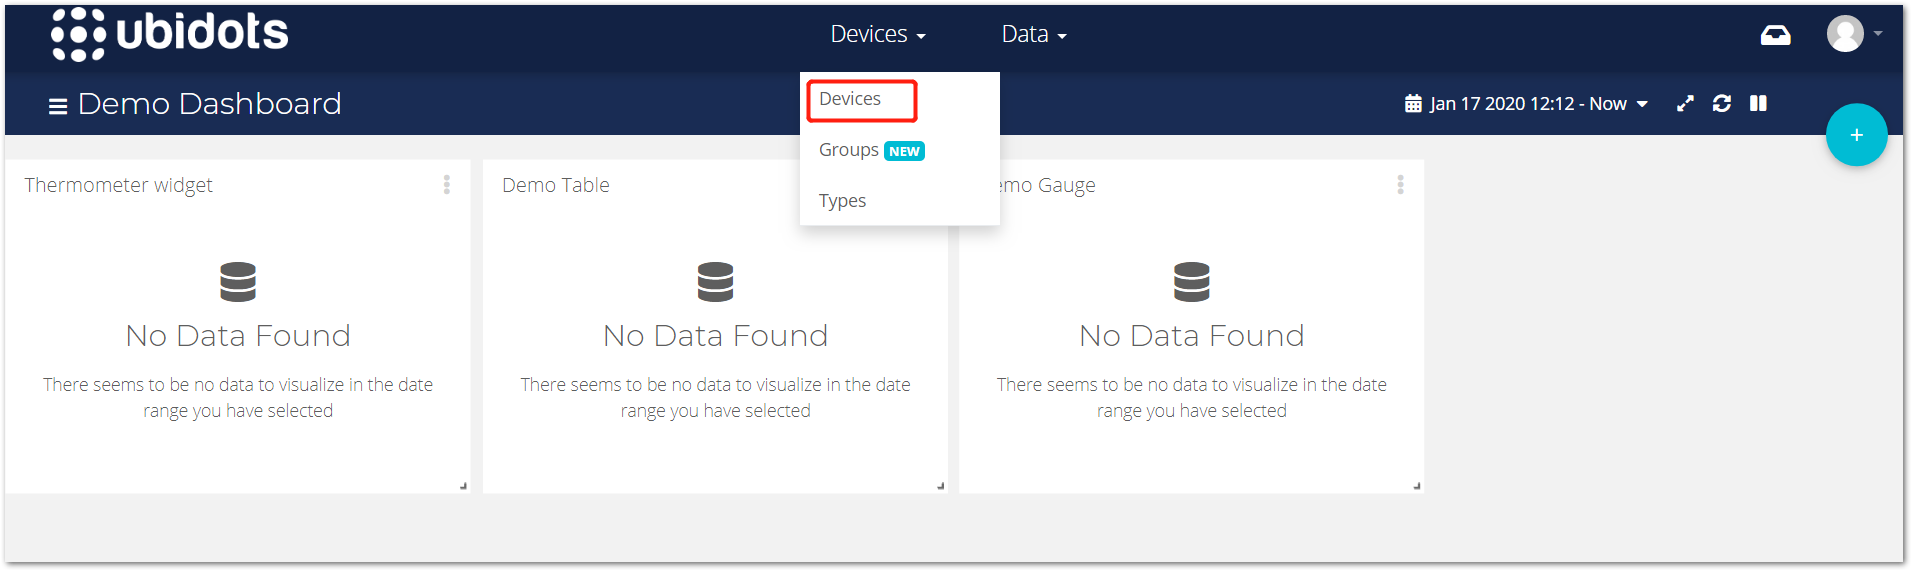
Firstly, open “Devices” item page:
You can see there is a device active in the list:
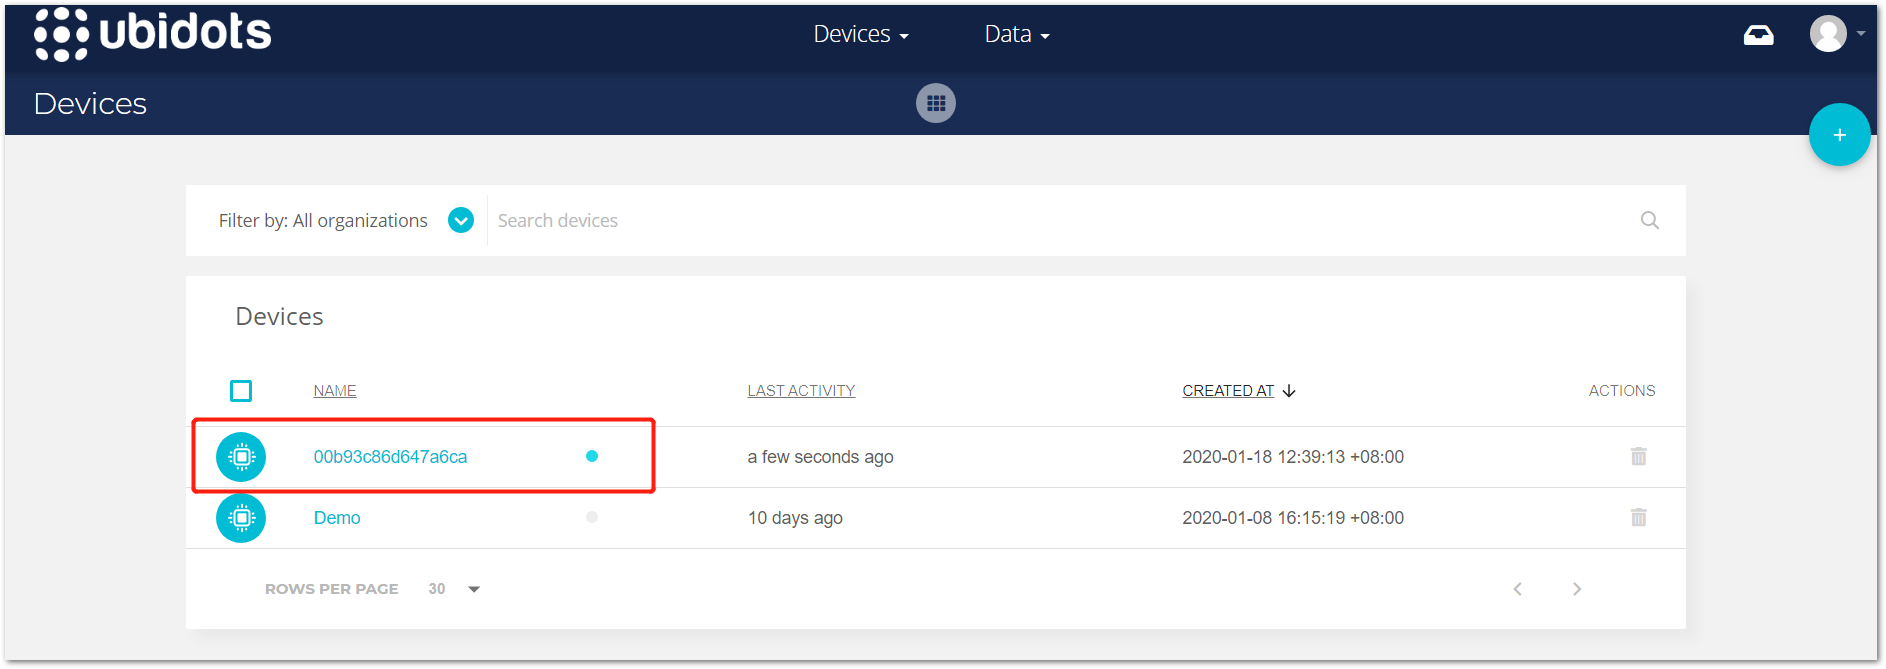
Yes, that’s your Wisblock device.
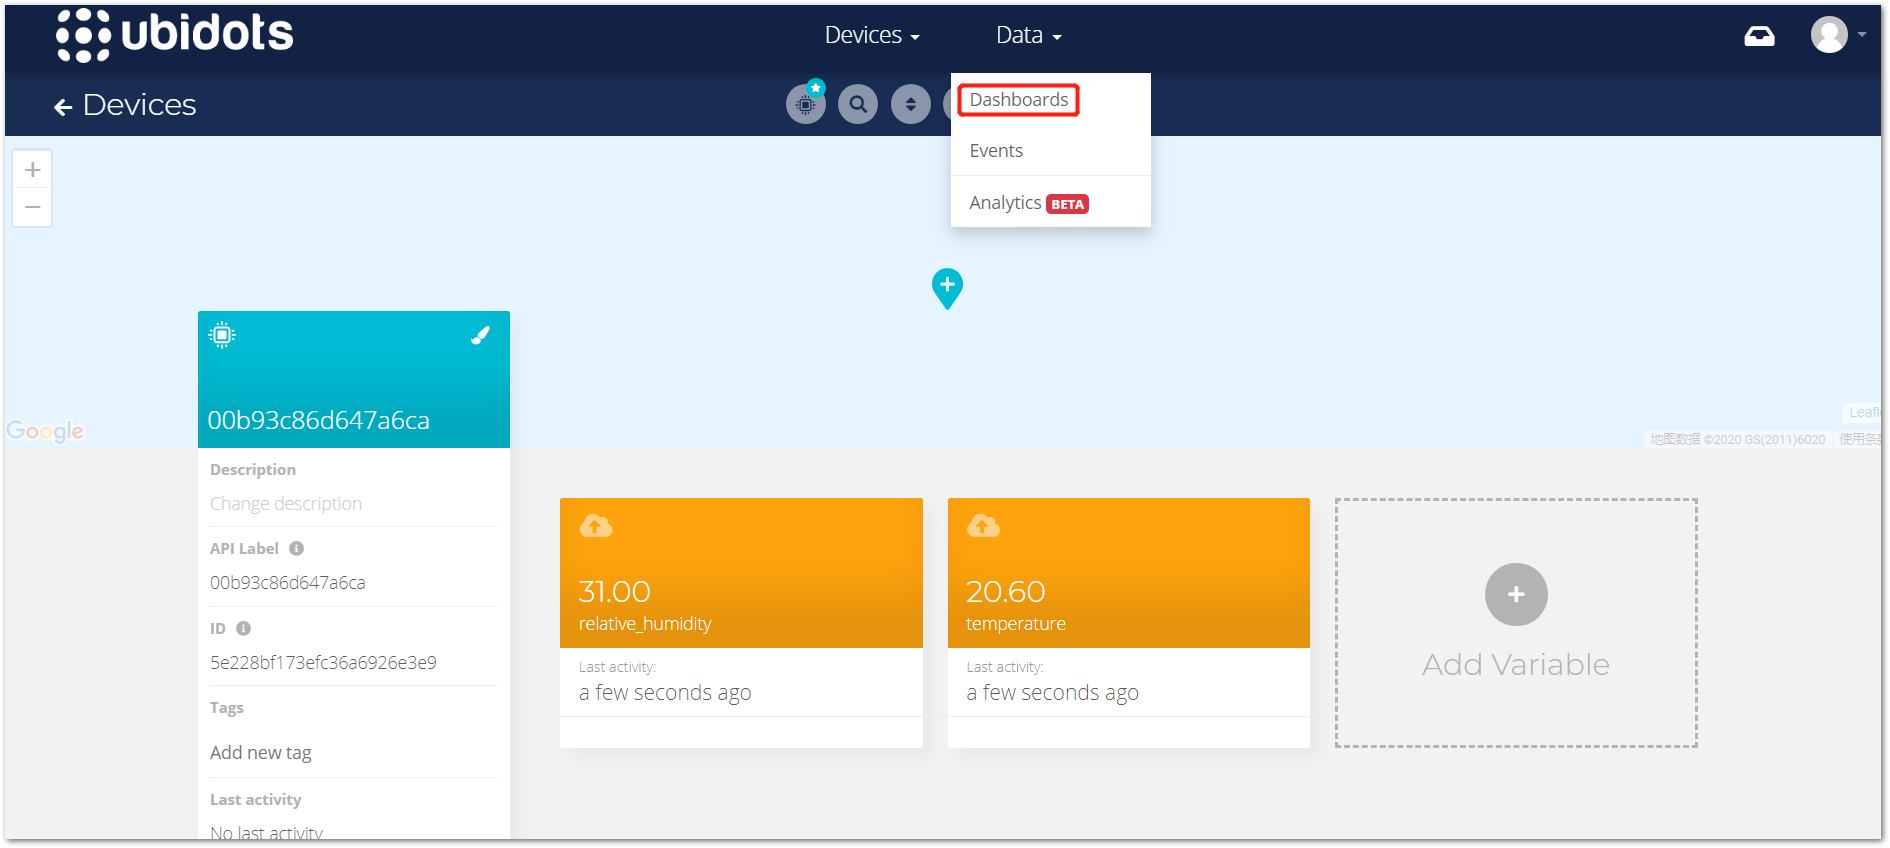
Just click it, and you will see the sensor’s value:

If you click the sensor value item, you will see the history value:

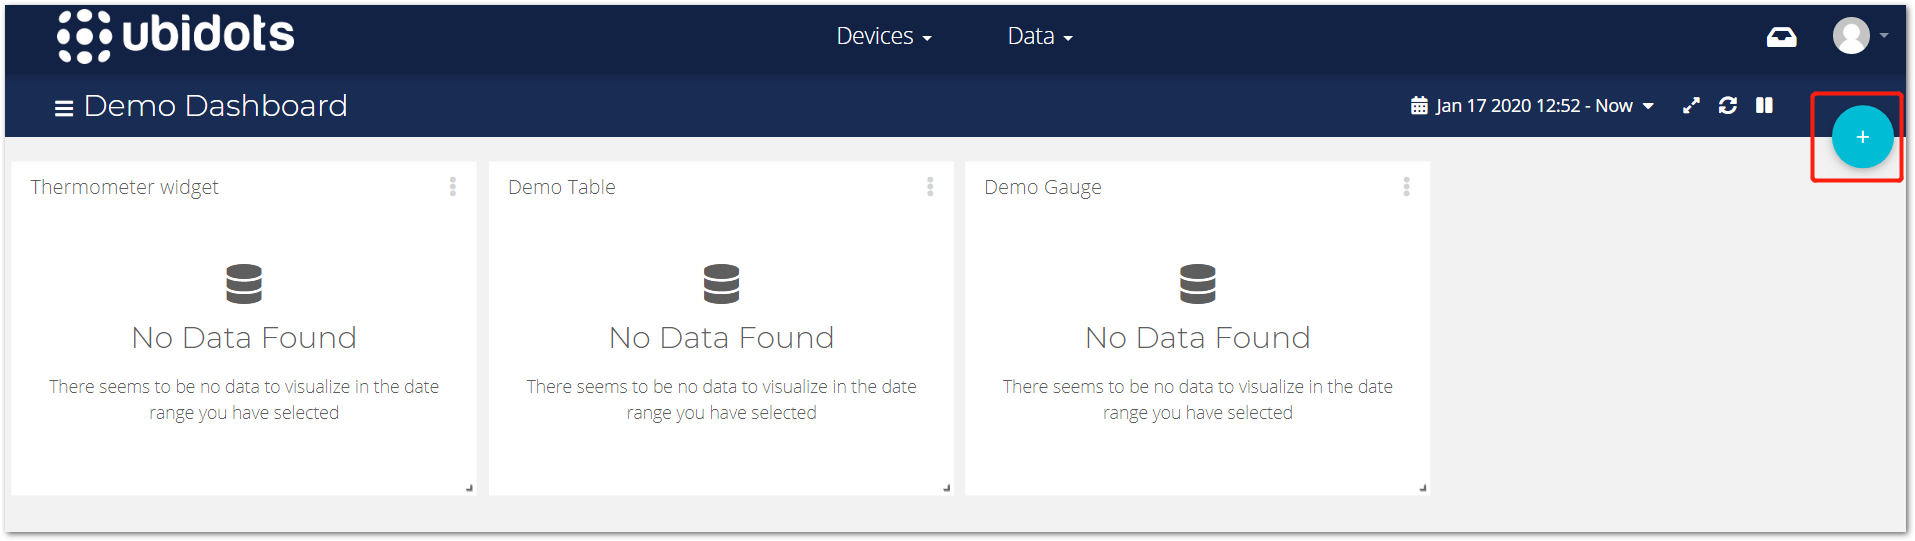
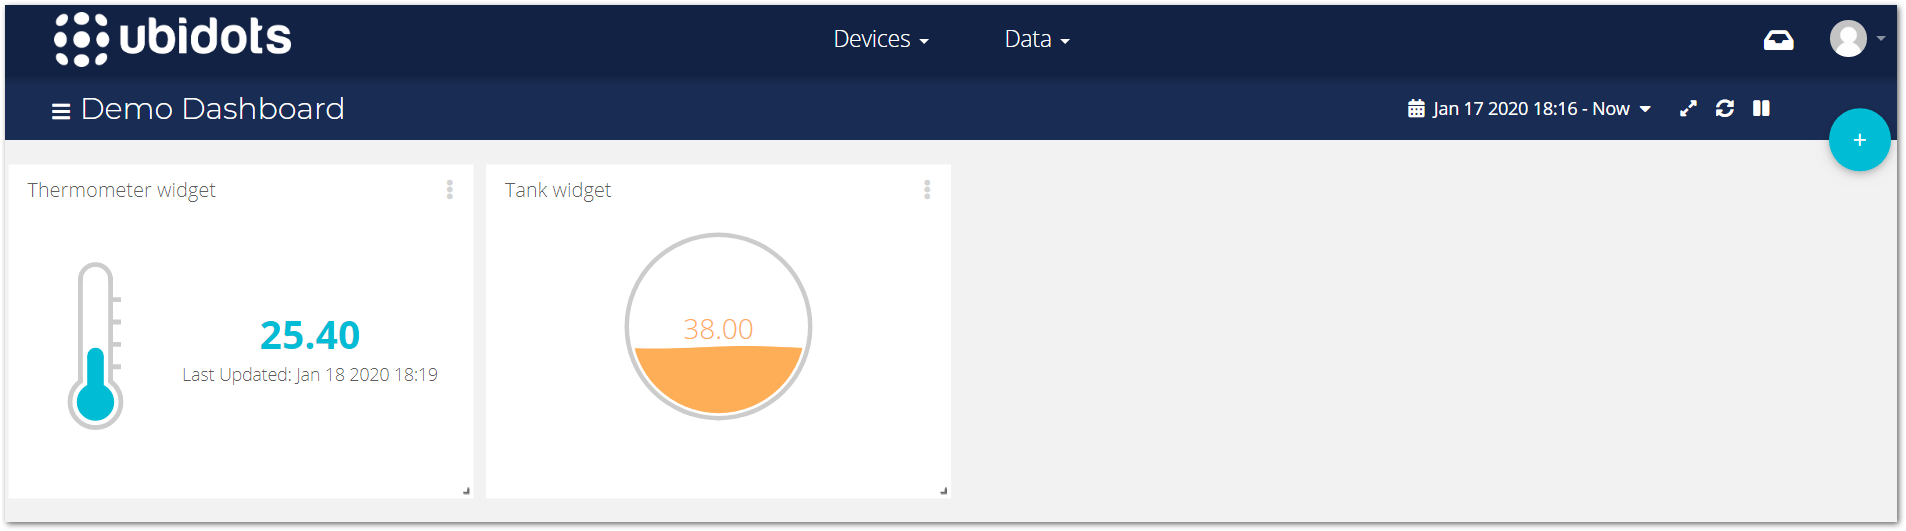
Now, show the value in Dashboard:
Add a new widget:
There are many kinds of sensor:

In this document, we use Temperature and Humidity sensors.
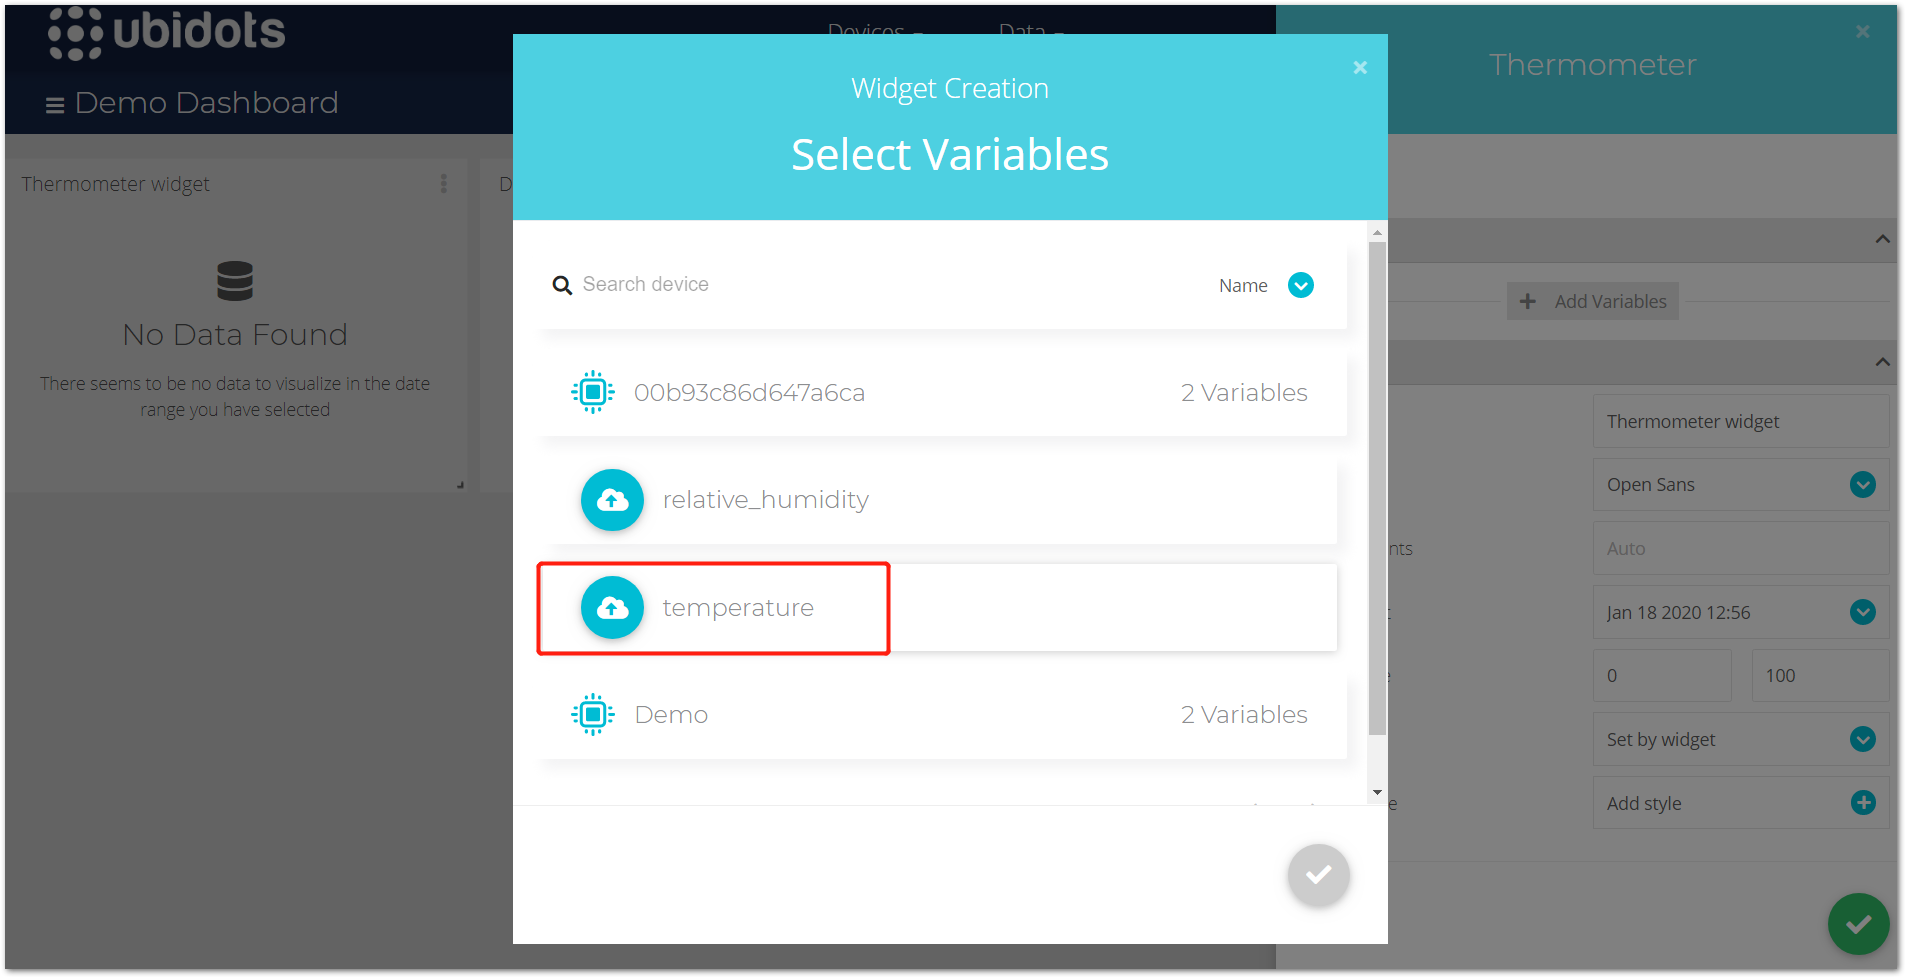
Just select a correct widget for Temperature sensor, and click the red box button to “Add variables” as the following picture shows:

Choose the correct sensor item:
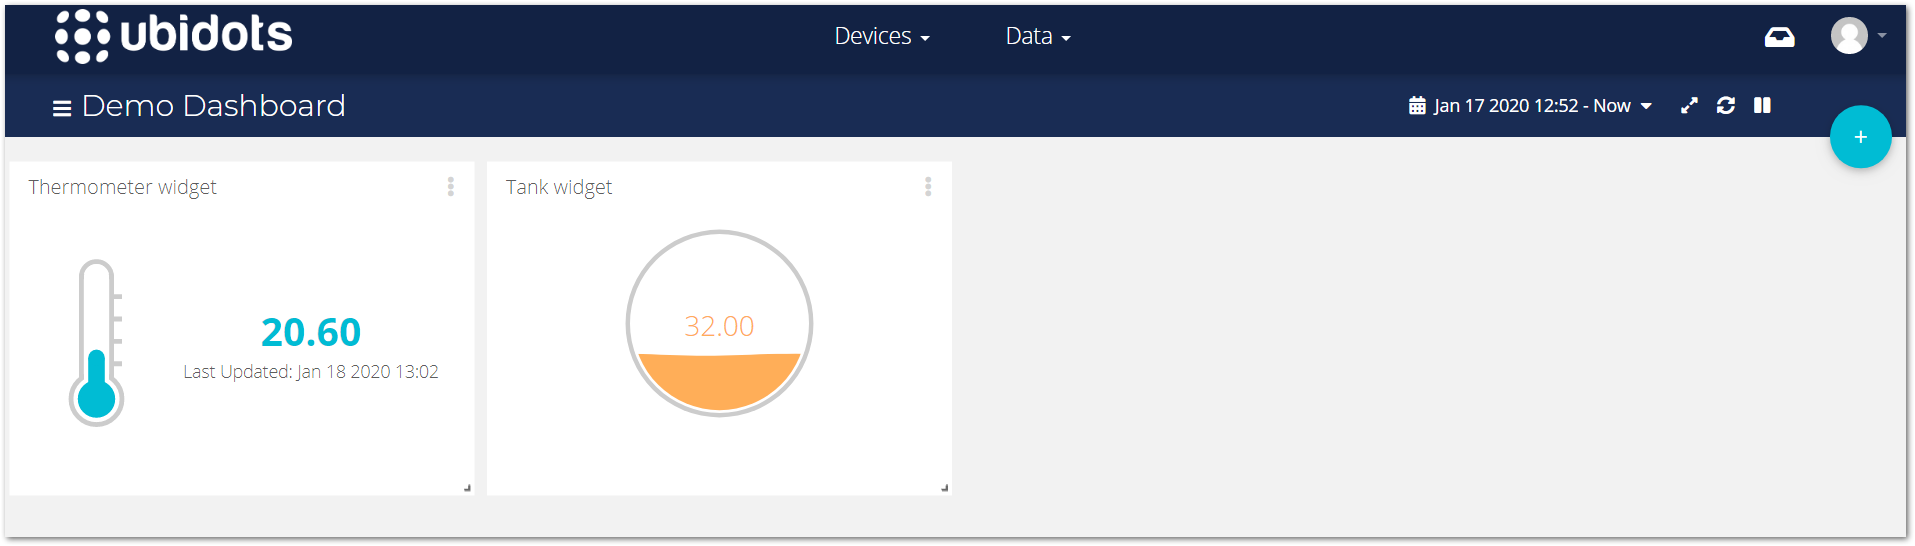
OK! Then you can see the Temperature sensor value shown in the Dashboard.
It is almost same for the Humidity sensor.
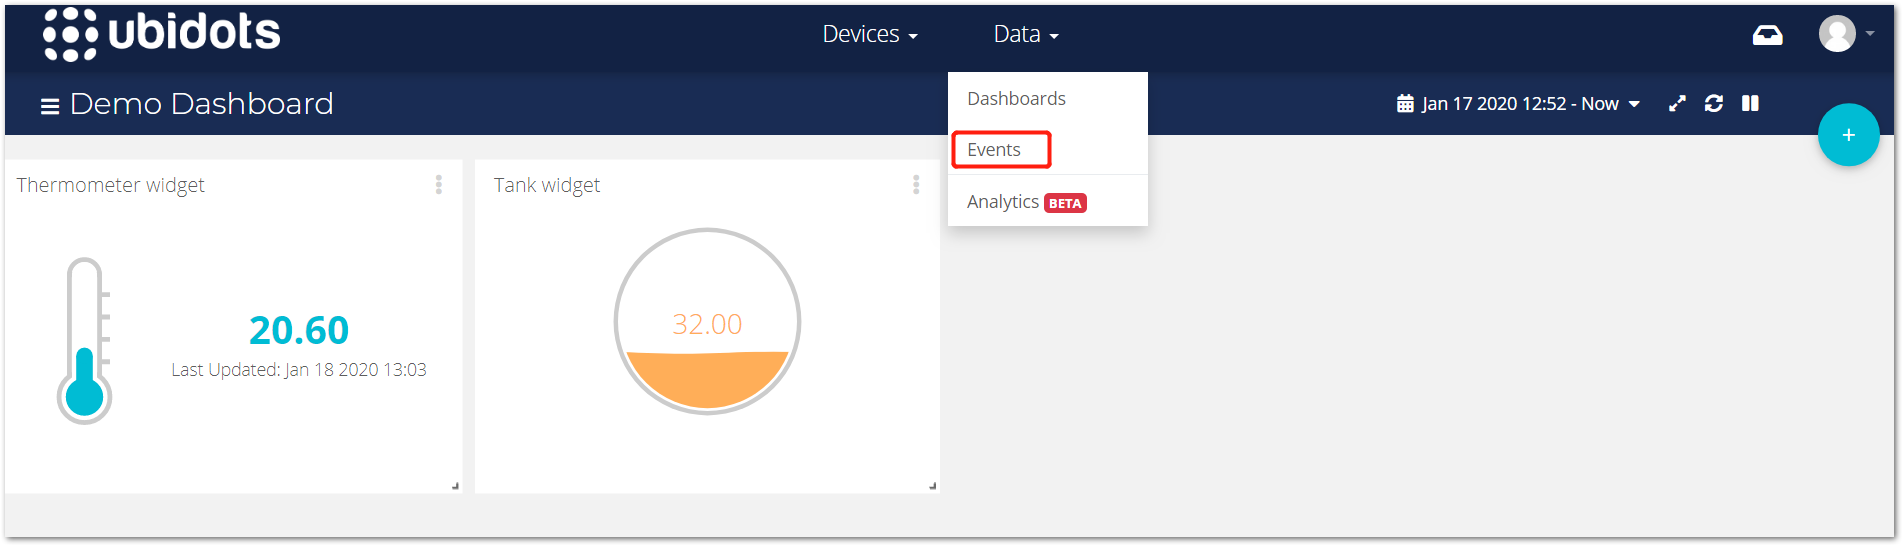
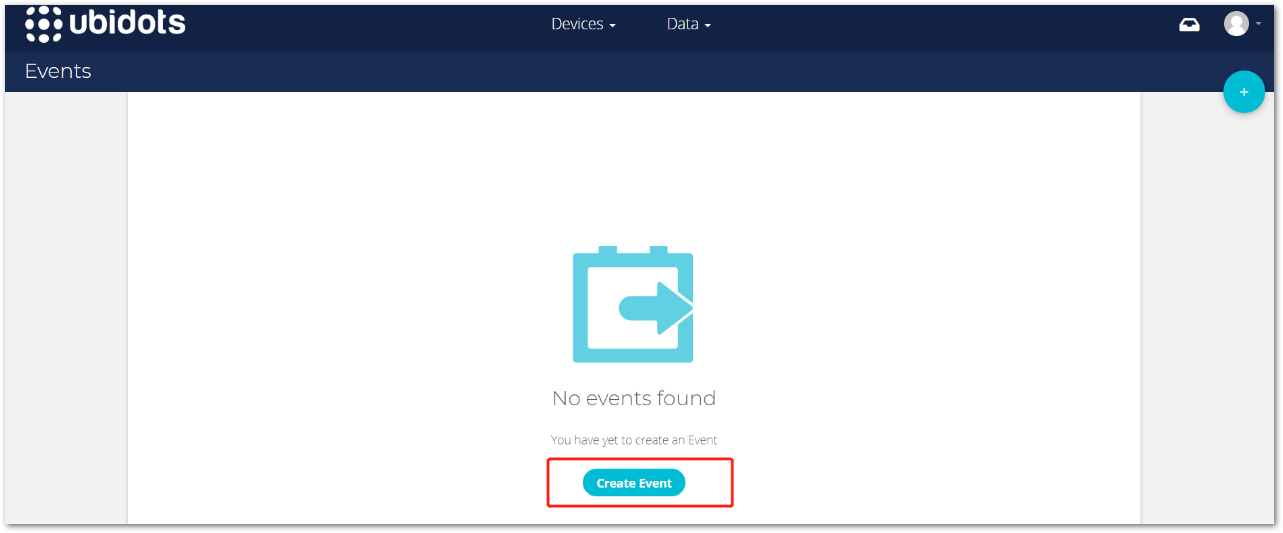
Add Event on Ubidots
Click “Events” item on Ubidots website:
Click “Create Event”:
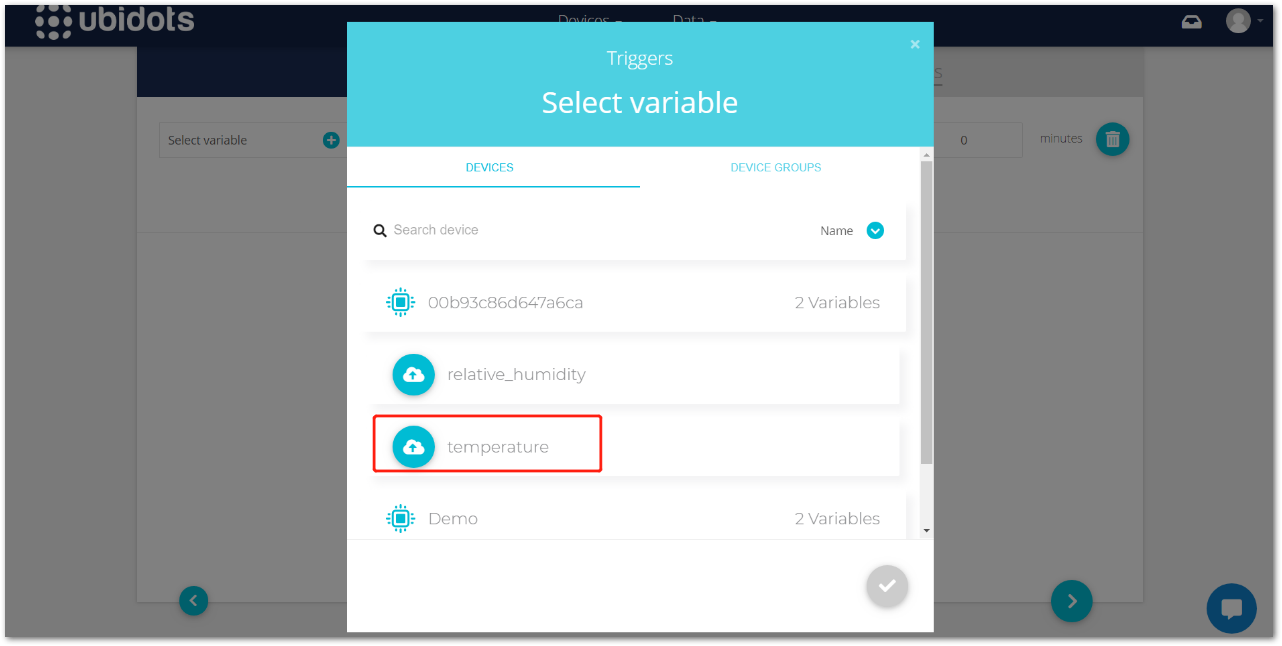
Select variable:
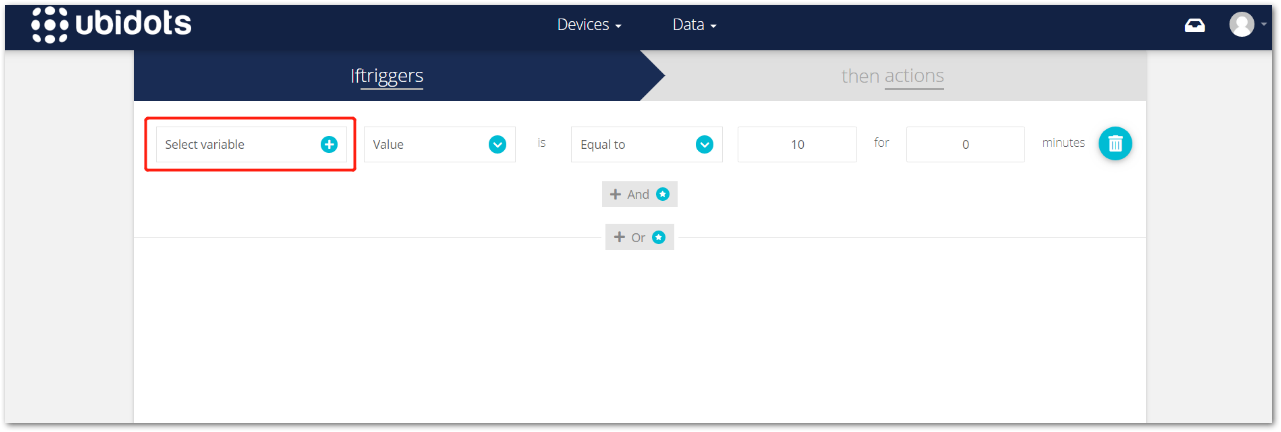
For example, we set an event that it should send an email to me once the Temperature value greater than 25°. we should do like this:
Choose temperature item:
And set the event “Greater than” and the value “30”:

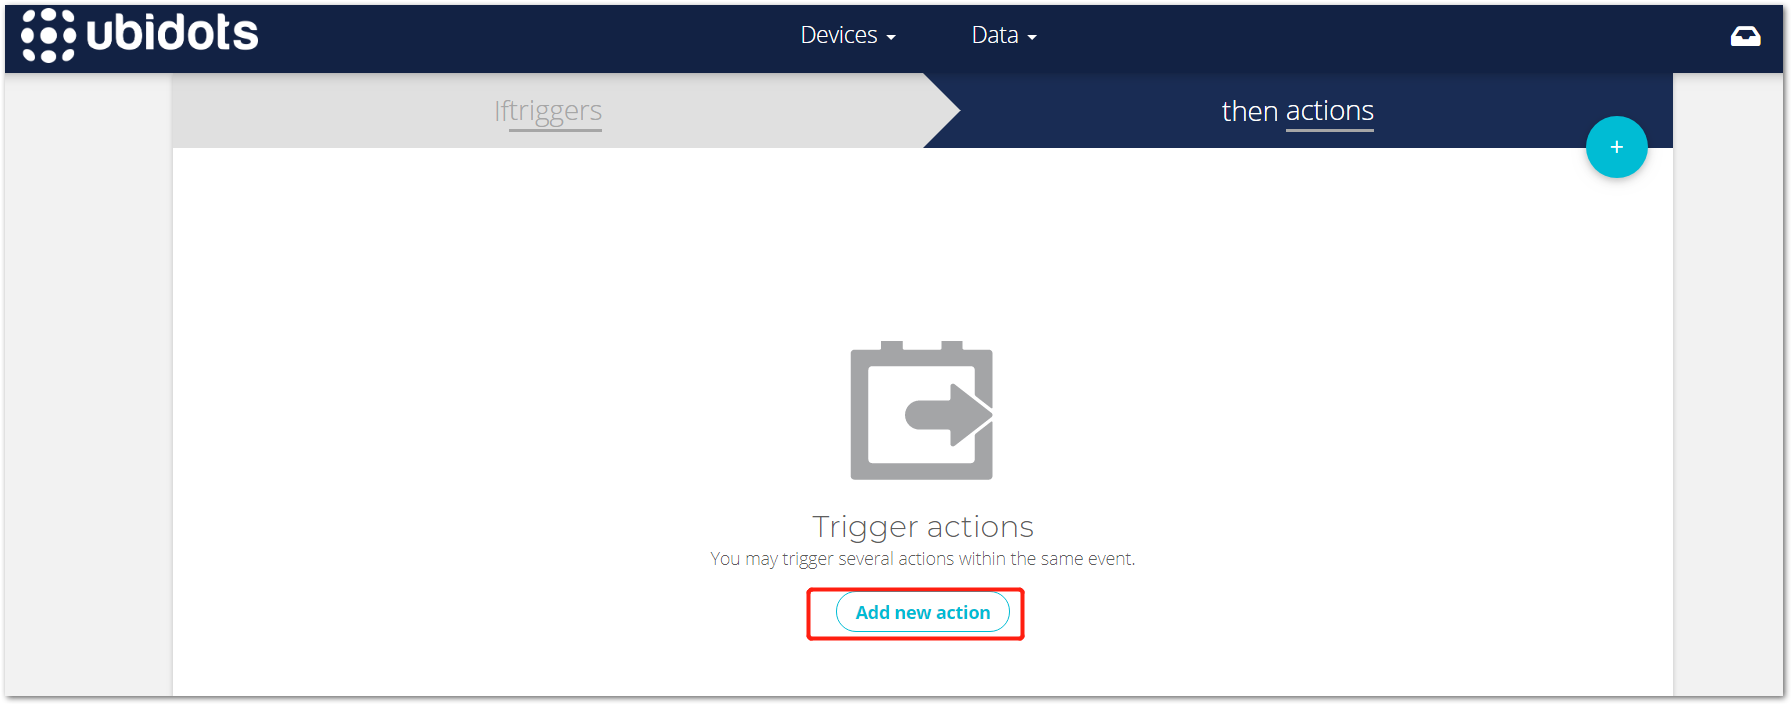
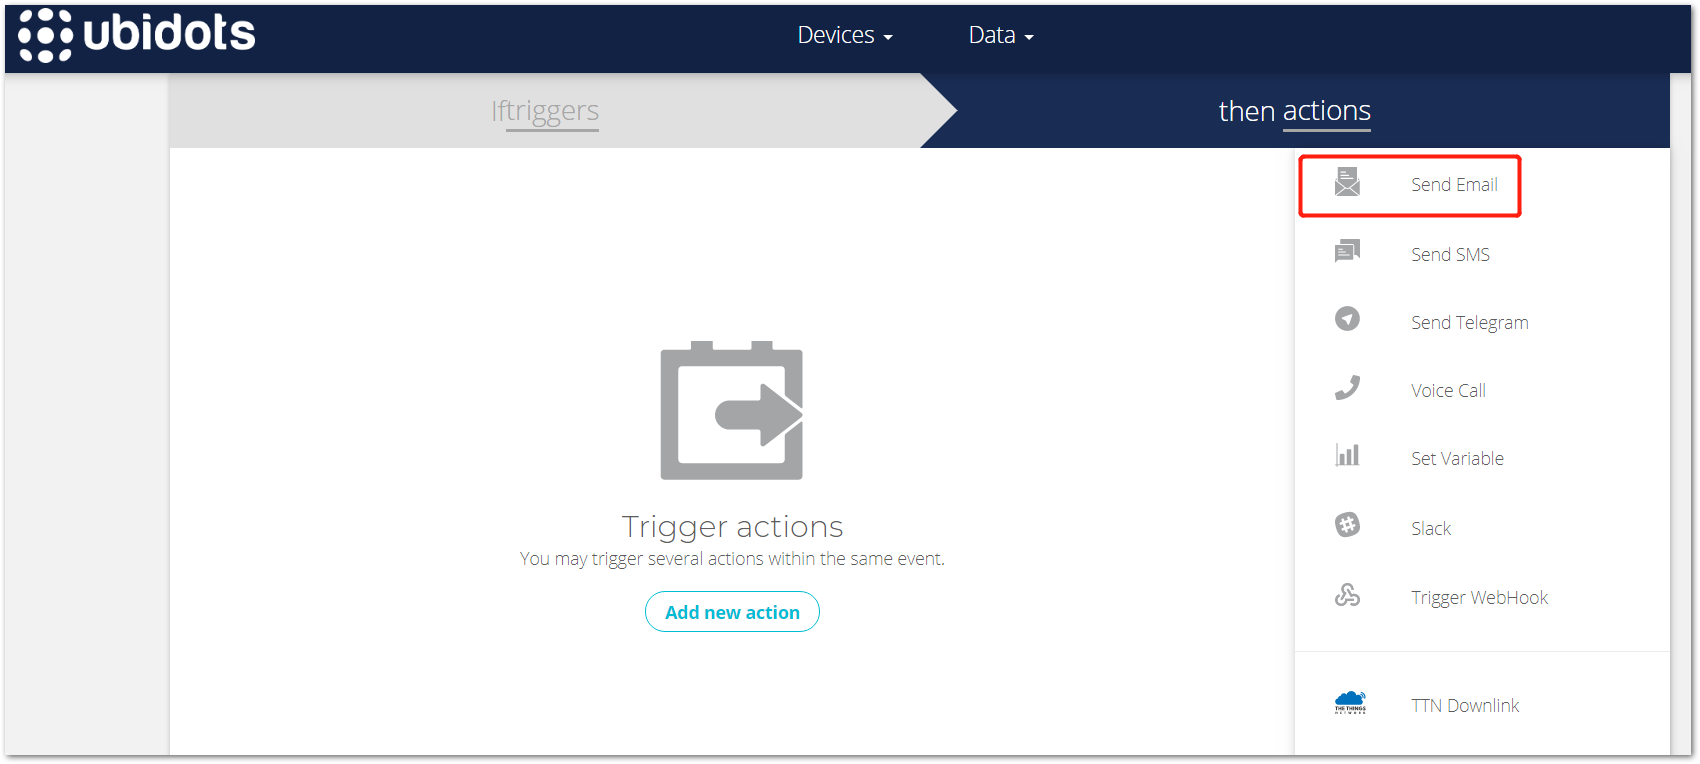
Click “then actions” page:

Click “Add new action”:
Choose “Send Email” item:
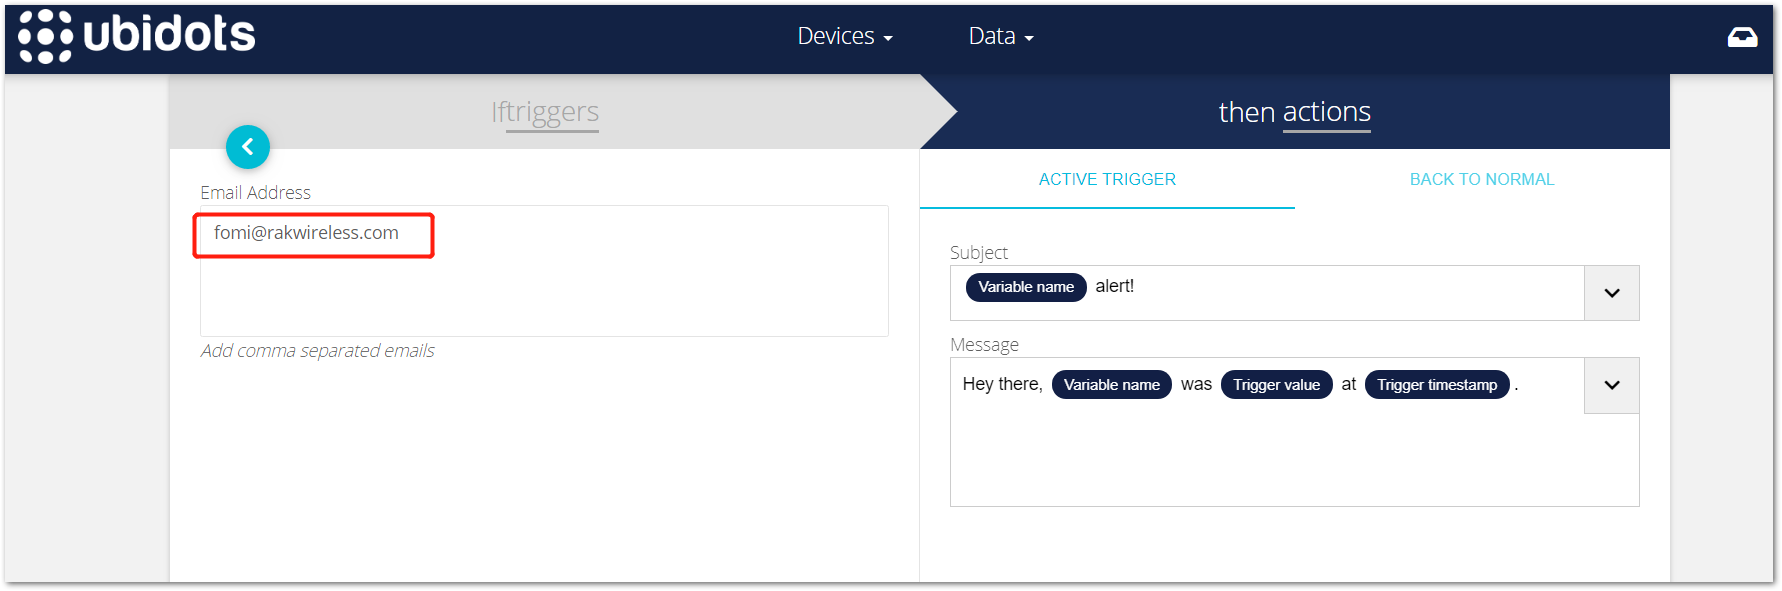
Fill in your email:
Then next:
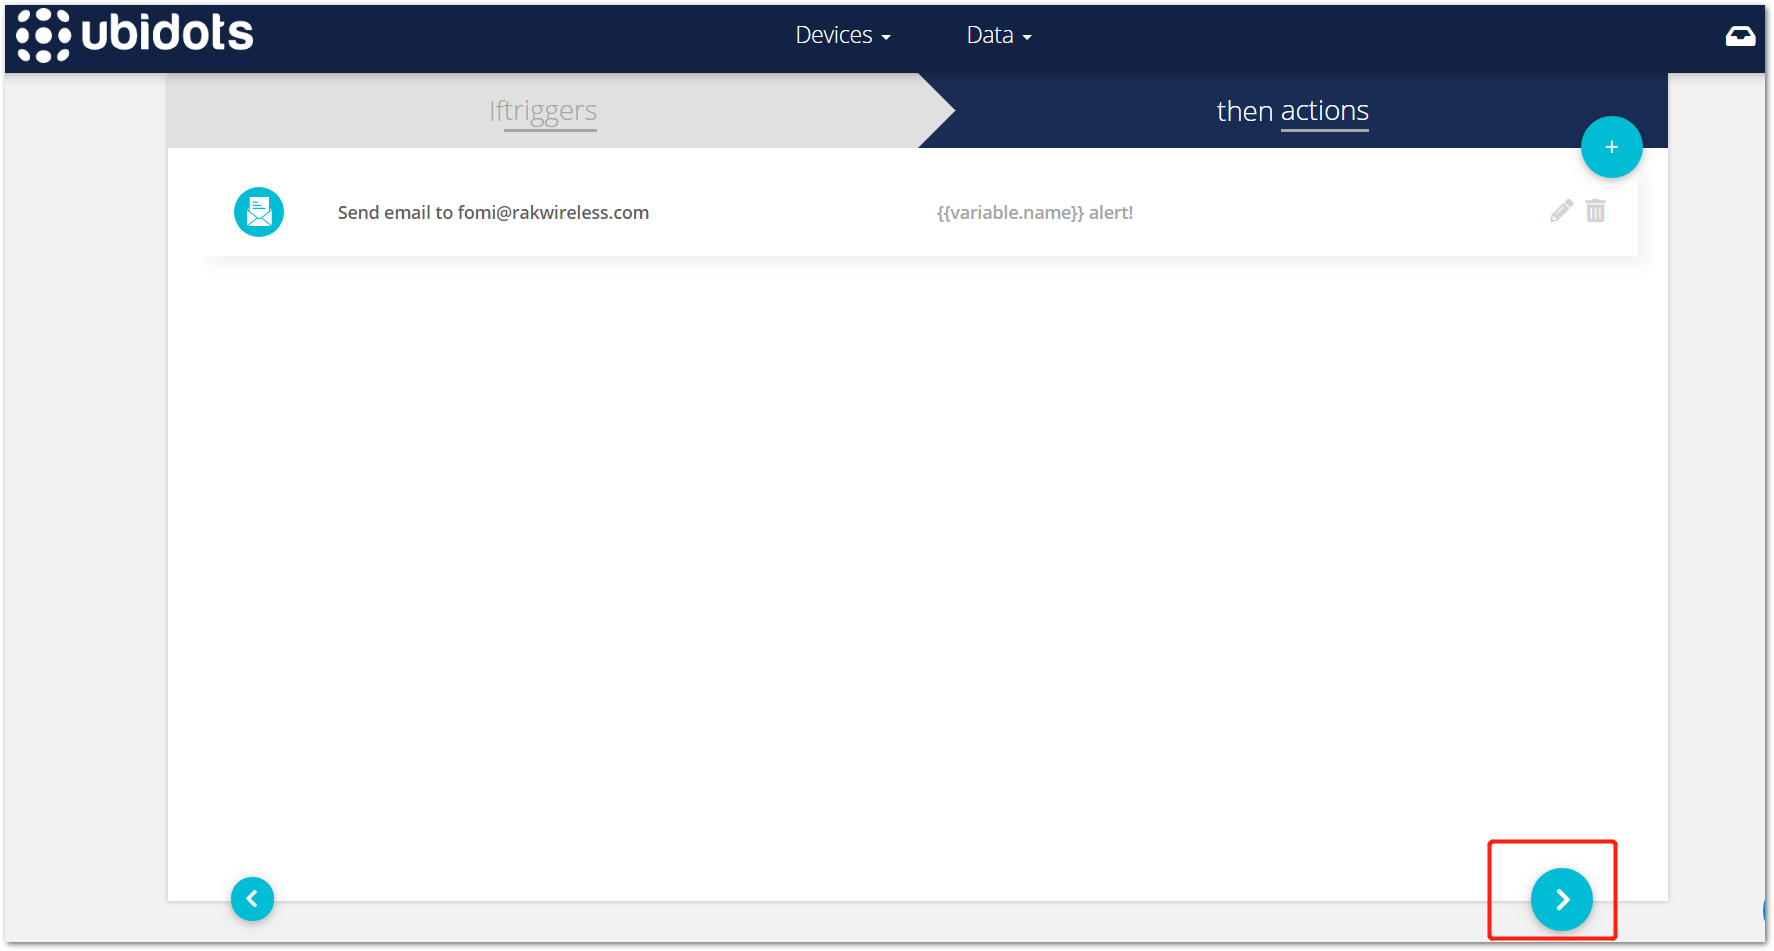
And Save:

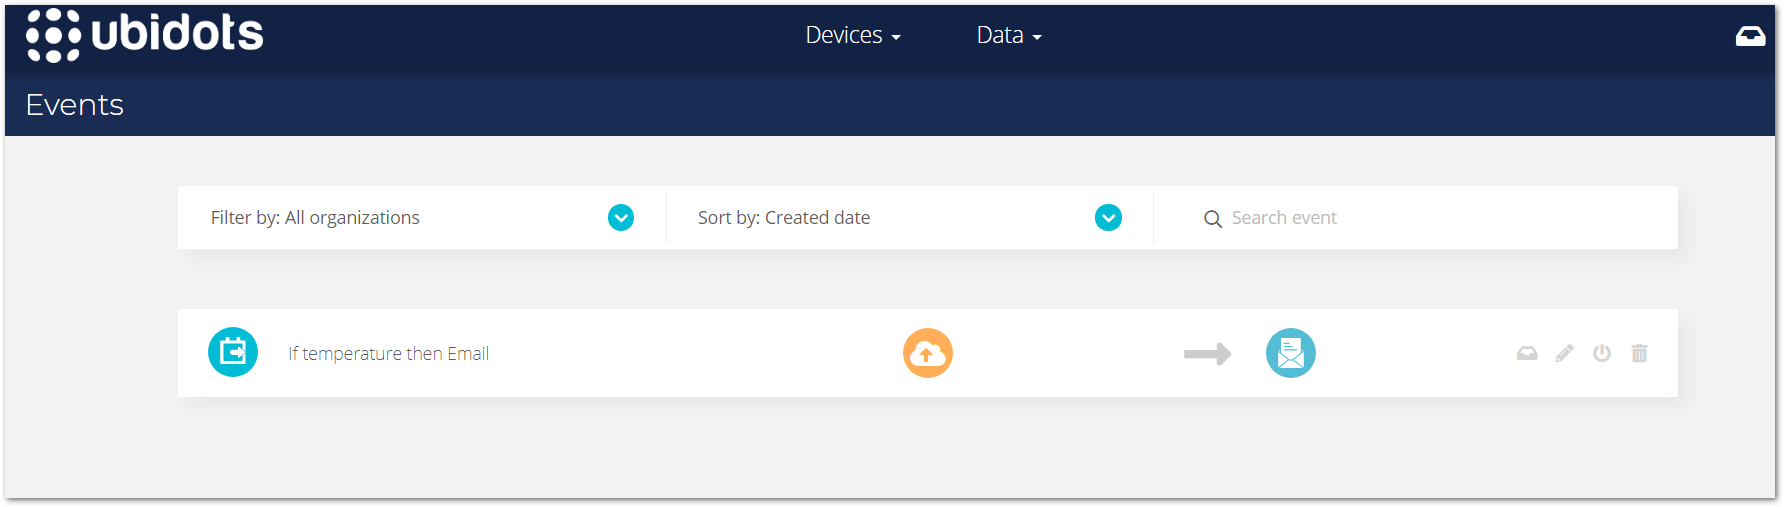
The event has been created:
OK, now, let’s trigger the event:
You can see, the temperature is greater than 25° now.
An alert email is sent from Ubidots to me:

Great! That’s all!